
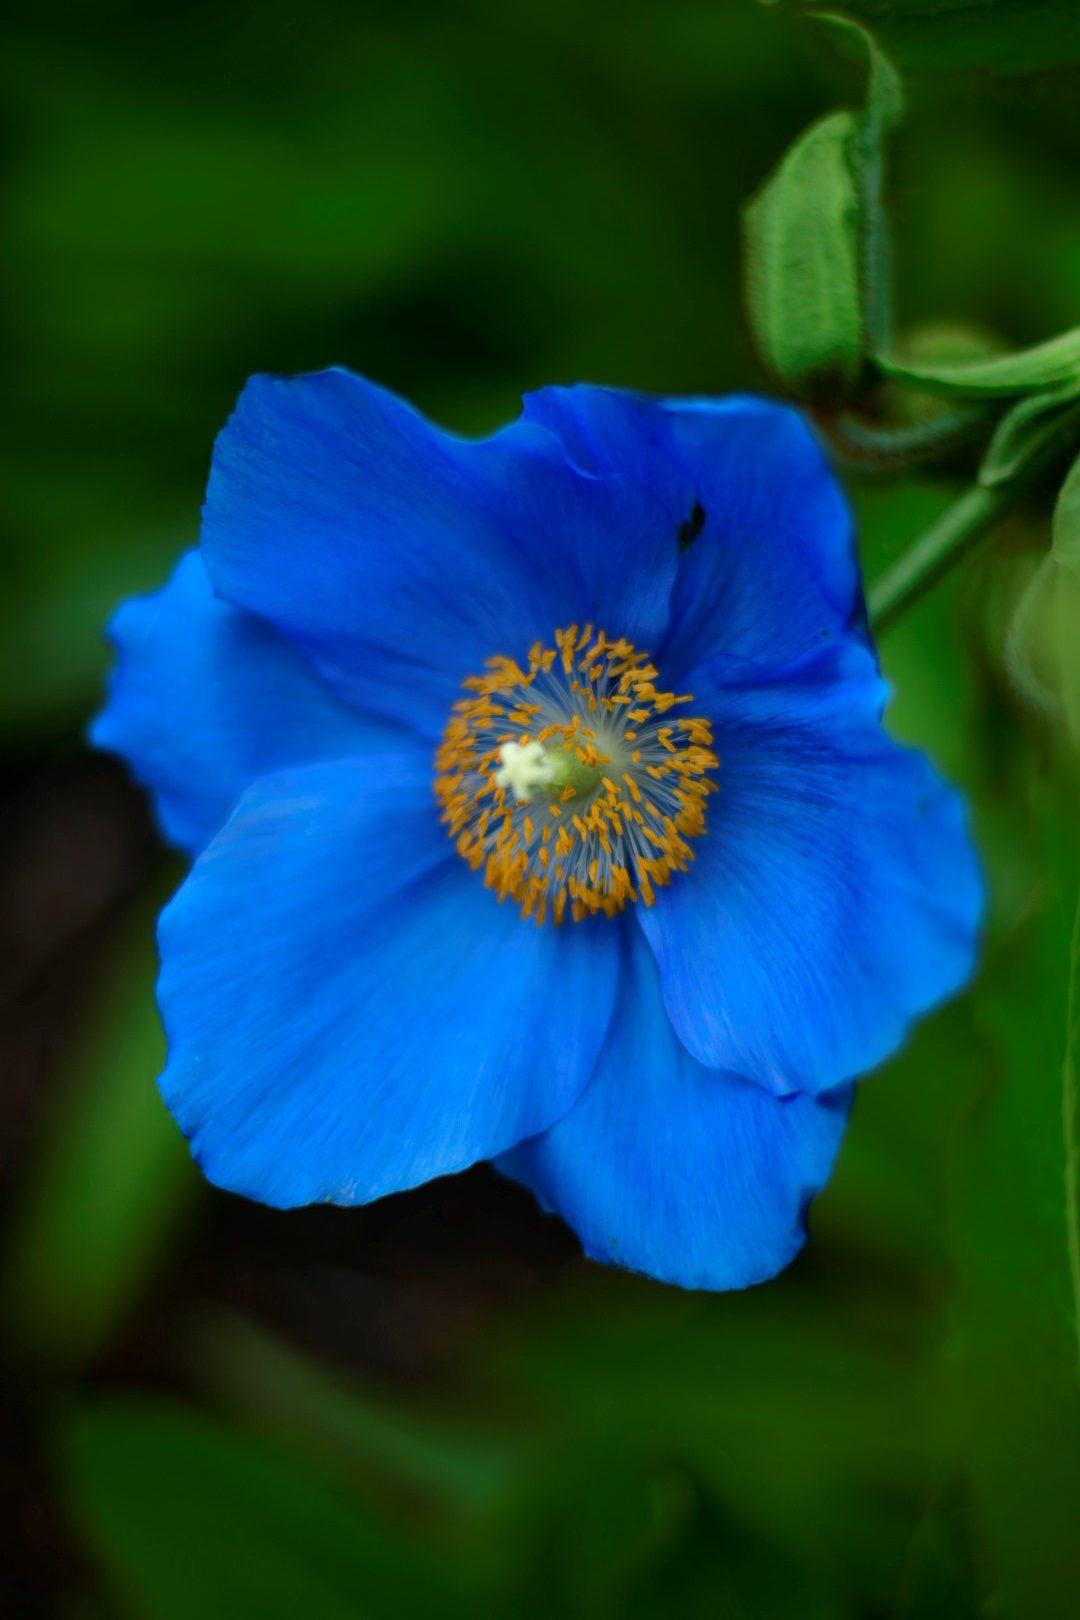
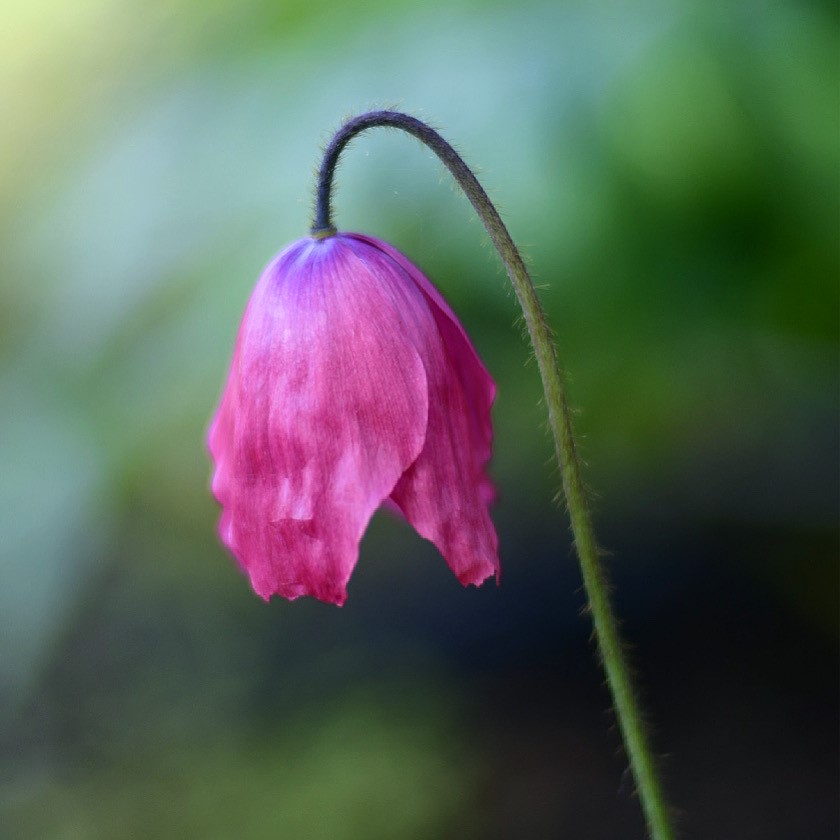
Many people aspire to grow Meconopsis, known as the Himalayan blue poppy, for their vibrant blue flowers in May each year. Meconopsis originate from Sino-Himalaya where they grow at high altitudes which experience high rainfall in summer monsoon conditions and heavy snowfall in winter. For this reason Meconopsis thrive in our Scottish climate where the climate has heavy rainfall and cool summers where they won’t dry out. Therefore if you plan to go away for a few weeks over summer make sure you set up an automated irrigation system or ask a good friend to water them. It is also important to place your Meconopsis somewhere sheltered where wind won’t damage their brittle stems or leaves or bend the flower stems.
They are also very hungry plants and dislike full scorching sun. In the wild Meconopsis grow in nutrient rich soil which is frequently visited by passing yaks. So the plants will benefit from a mulch each year whether that be leaf mould or composted bark. Mulches can be applied in Spring or Autumn but ensure the crown of the plant is not over mulched and the mulch around the plants is roughly 5cm deep. Here at RBGE we like to feed ours with chicken manure pellets and a leaf mould mulch in March each year.
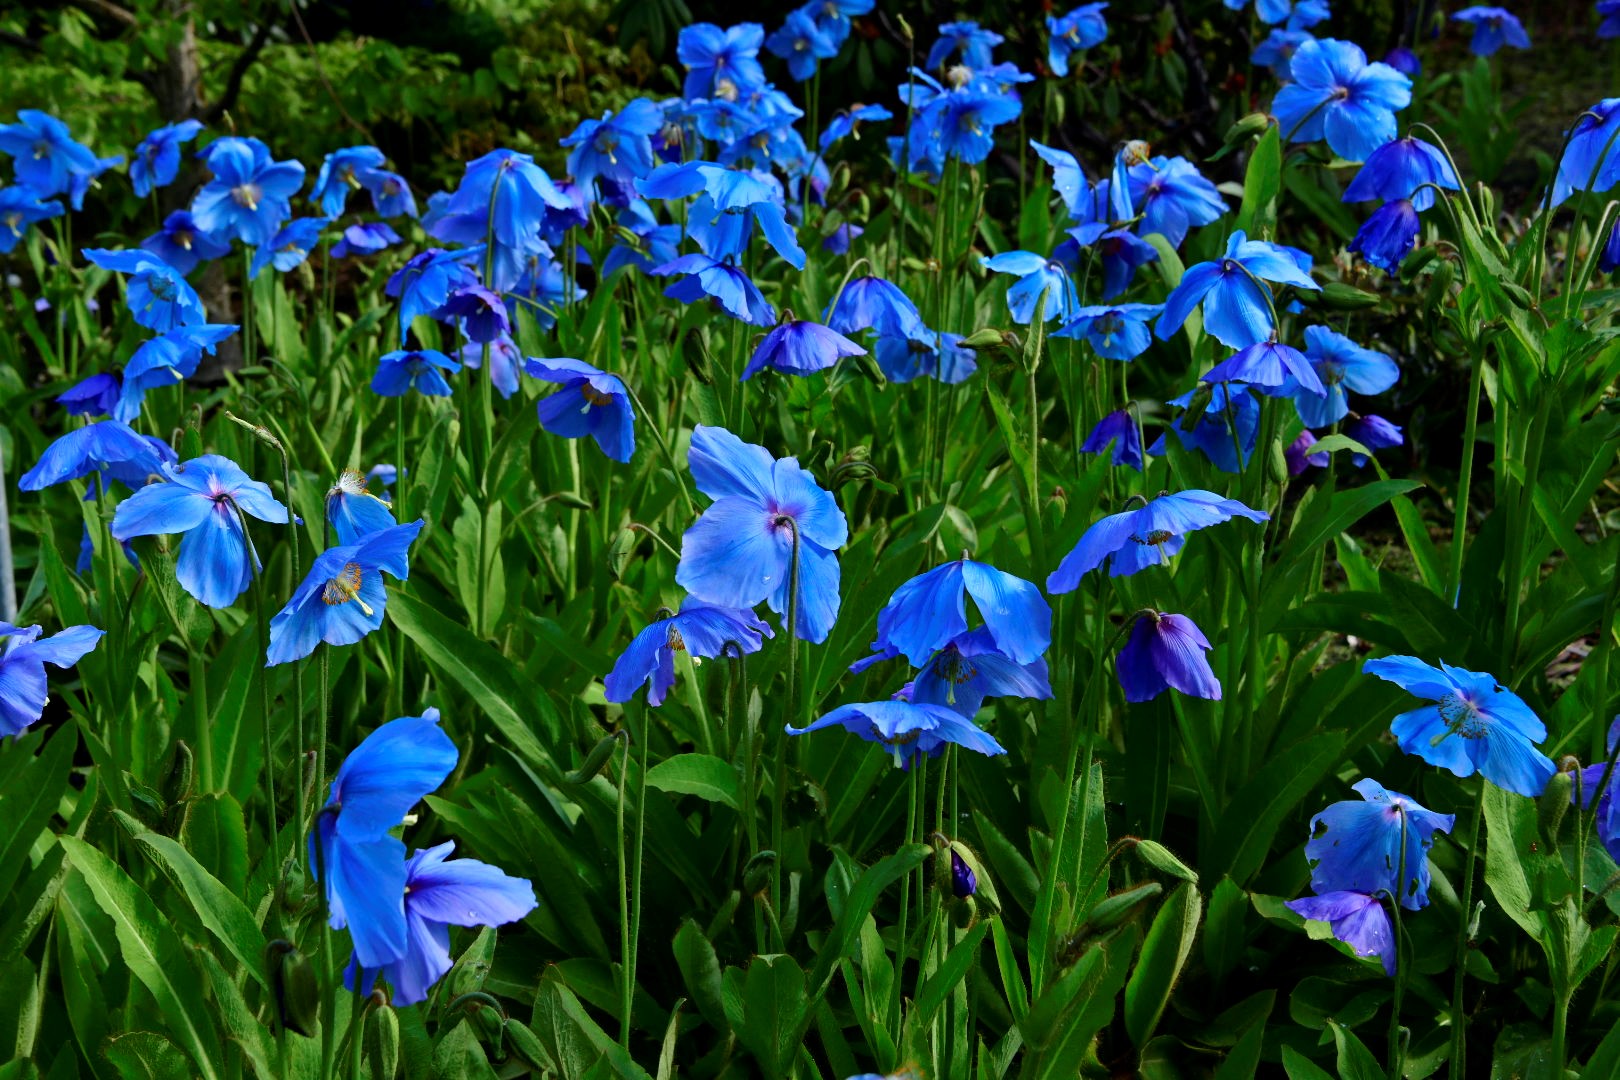
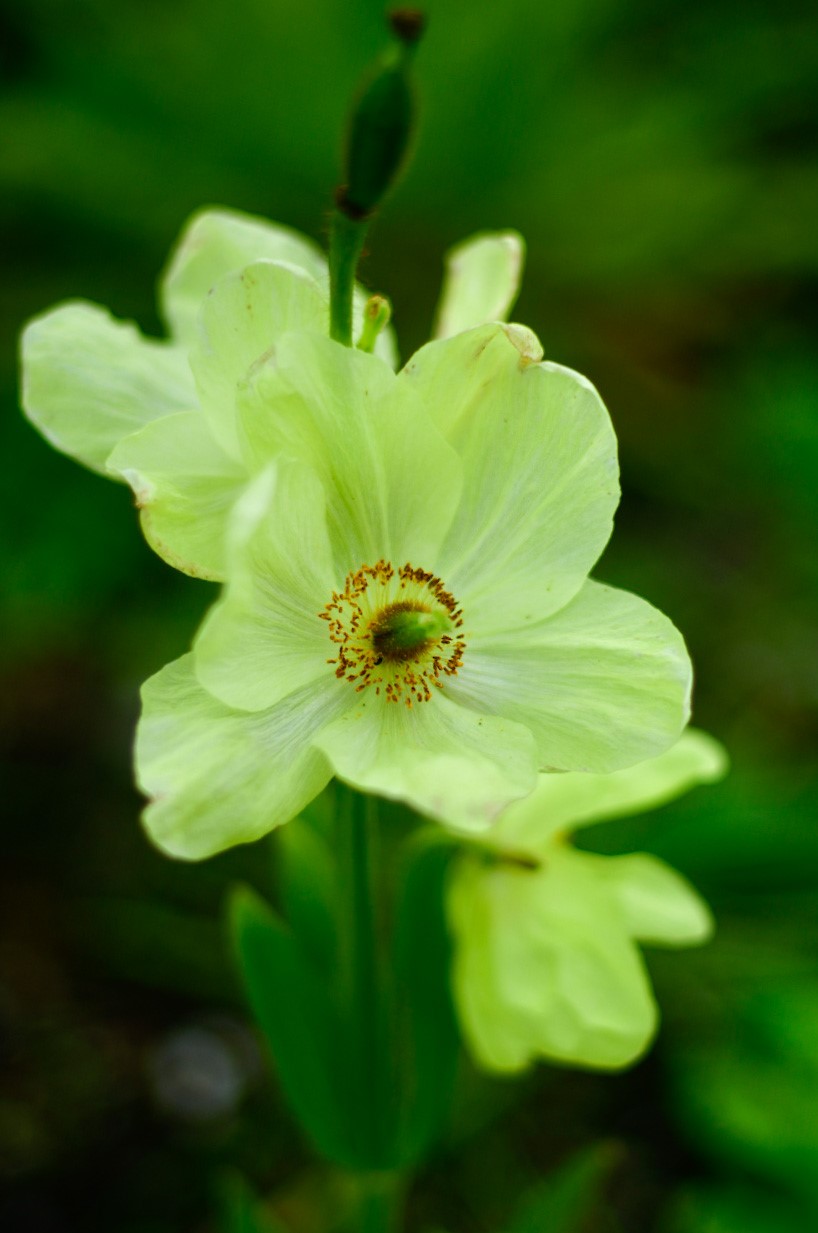
There are many species of Meconopsis but for the home gardener the big blue poppies are the easiest to grow and cultivate in your own garden. Meconopsis ‘Lingholm’ or ‘Slieve Donard’ are widely avaliable and make a good introduction to growing this genus.
Many of the infertile blue poppies can only be propagated vegetatively through division and this can sometimes be a quicker process than growing Meconopsis plants by seed. It is also an effective way of rejuvenating an old congested clump and once divided should result in more flowers. The best time to do this division is in the Autumn. Doing the division at this time of year reduces the stress to the plant and gives the optimum conditions for the divided plant clump to root and grow. Lifting the plants for the division process is best with a border fork gently lifting the plant clump at the edges. Once the Meconopsis clump is lifted you can divide the clump using your hands as they are delicate plants and can be killed if divided brutally with a garden spade. Once divided into small clumps and replanted these may take 2-3 years to bulk up and grow to a flowering size so patience is key just like with all gardening. A 3-4 year old good sized flowering clump can be divided and produce 10-20 new pieces for replanting and multiplying your collection. You can repeat this process each year. Note that by mid-Autumn the plant will die down and go into winter dormancy until they emerge again the following spring when the soil warms.

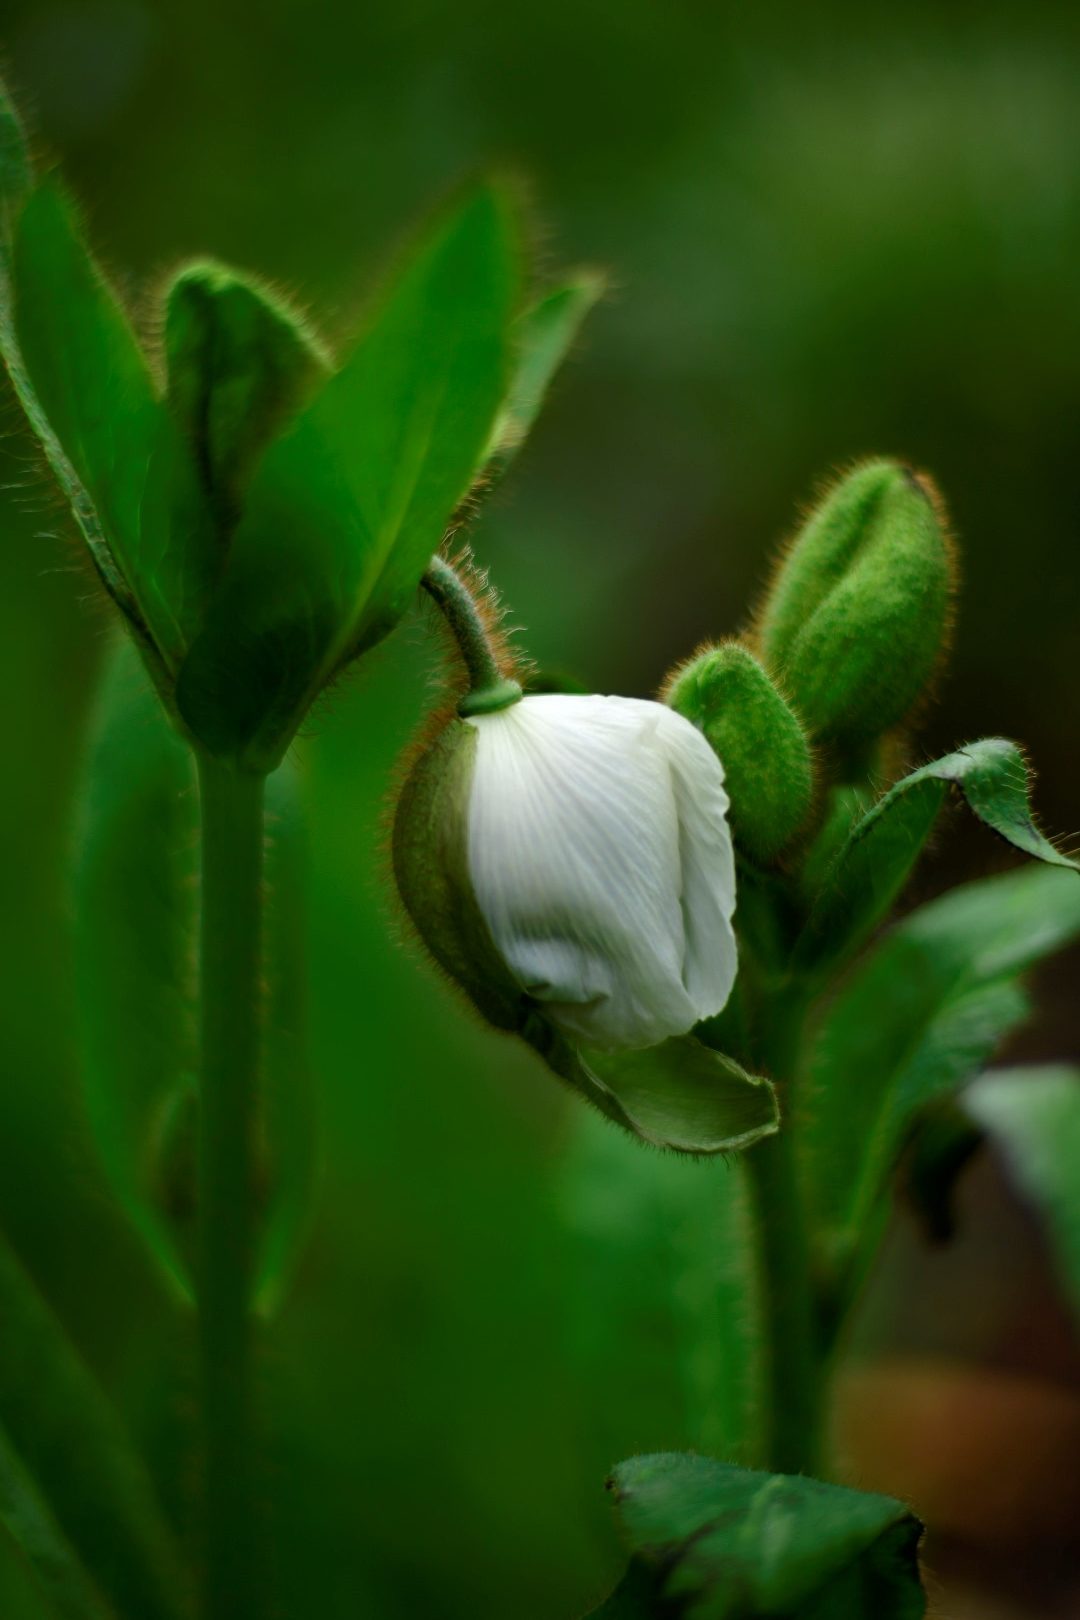
It is encouraged that Meconopsis are sown from seed to keep certain species in garden cultivation and to keep ex situ plants in case they become extinct in the wild due to climate change and habitat destruction. Many of the species within the genus are monocarpic meaning they can be short lived or die after flowering. Some varieties of Meconopsis are widely avaliable commercially like Meconopsis ‘Lingholm’, Meconopsis baileyi and Meconopsis betonicifolia. There are also specialist societies like The Meconopsis Group, The Alpine Society and the Scottish Rock Garden Club that all supply a good range of Meconopsis seed lists each year. Seed can be harvested when ripe – this is typically when the seed pods start to split at the top and the black seeds rattle and fall out. It is important to remove any seedpod and separate this from the seed using a sieve however, this step may not be necessary.
Once you have harvested the seed you can keep them in paper seed packets and they are best stored in the fridge around 4C until you get round to sowing them. Like all gardening practices there are many techniques and tips for germinating Meconopsis seed. However, the most reliable method is to sow Meconopsis seed from December to February so that the seed experience a period of cold (stratification). There are a few exceptions like Meconopsis punicea and delavayi which should be sown fresh as soon as the seed is harvested. Some people also believe sowing all Meconopsis seed fresh after harvest has greatest success of germination. The potting compost you sow the seed into needs to have good air porosity qualities and this can be enhanced with fine horticultural grit or pumice. Seed is sown on the surface of the compost with even density – do not cover the seed with compost! Some people like to cover the top of the pot with a thin layer of grit after the seed is sown. It is important that the seed you have sown never dries out as this is critical, particularly once the seed has germinated. When the seeds have germinated and the new seedlings emerge keep them in a shady location as this will help them establish and prevent them from drying out. They are hungry plants so it is important to liquid feed the seedlings and make sure they don’t become pot bound. It is important to prick them out early and pot them on so they have room to grow and establish good root growth. When the young plants are big enough you can then plant them out into your garden where you will be richly rewarded.
Kevin Newton
Some great photos there Kirsty.
Kirsty Wilson
Thanks Kevin
Bob Croy
Wonderful advice. Our Poppy has had eight flowers this year. That’s after nearly 30: years of trying. They are the Pre Madonna. Of poppies! Cheers from New Zealand.. Merry Christmas and a Happy New year. Bob and Lynne ???.
Kirsty Wilson
Bob thanks for your lovely kind comment. Hope you have a wonderful festive period too.
Duncan hendry
Very useful to know thank you .
Duncan He dry
Thank you I just planted some today .
Katy V
Hi- I have some 2-3 year old plants (meconopsis lingholm). For the first time there is a bud on one of them! I have read that I should remove the bud in the first flowering year in order to prevent the plant from dying. Is this correct?
Dale Barwick
Good info thanks for the help 🙂 I’ve been growing them for about 5 years now and have had mixed results. Too much shade and competition doesn’t help them either. Have one large plant that I acquired from a friend and have been taken care of for 2 years now. Has nine buds on it that are just about to open. Actually two are just open already but there are a bunch that are split and starting to open 🙂 I am in Homer Alaska