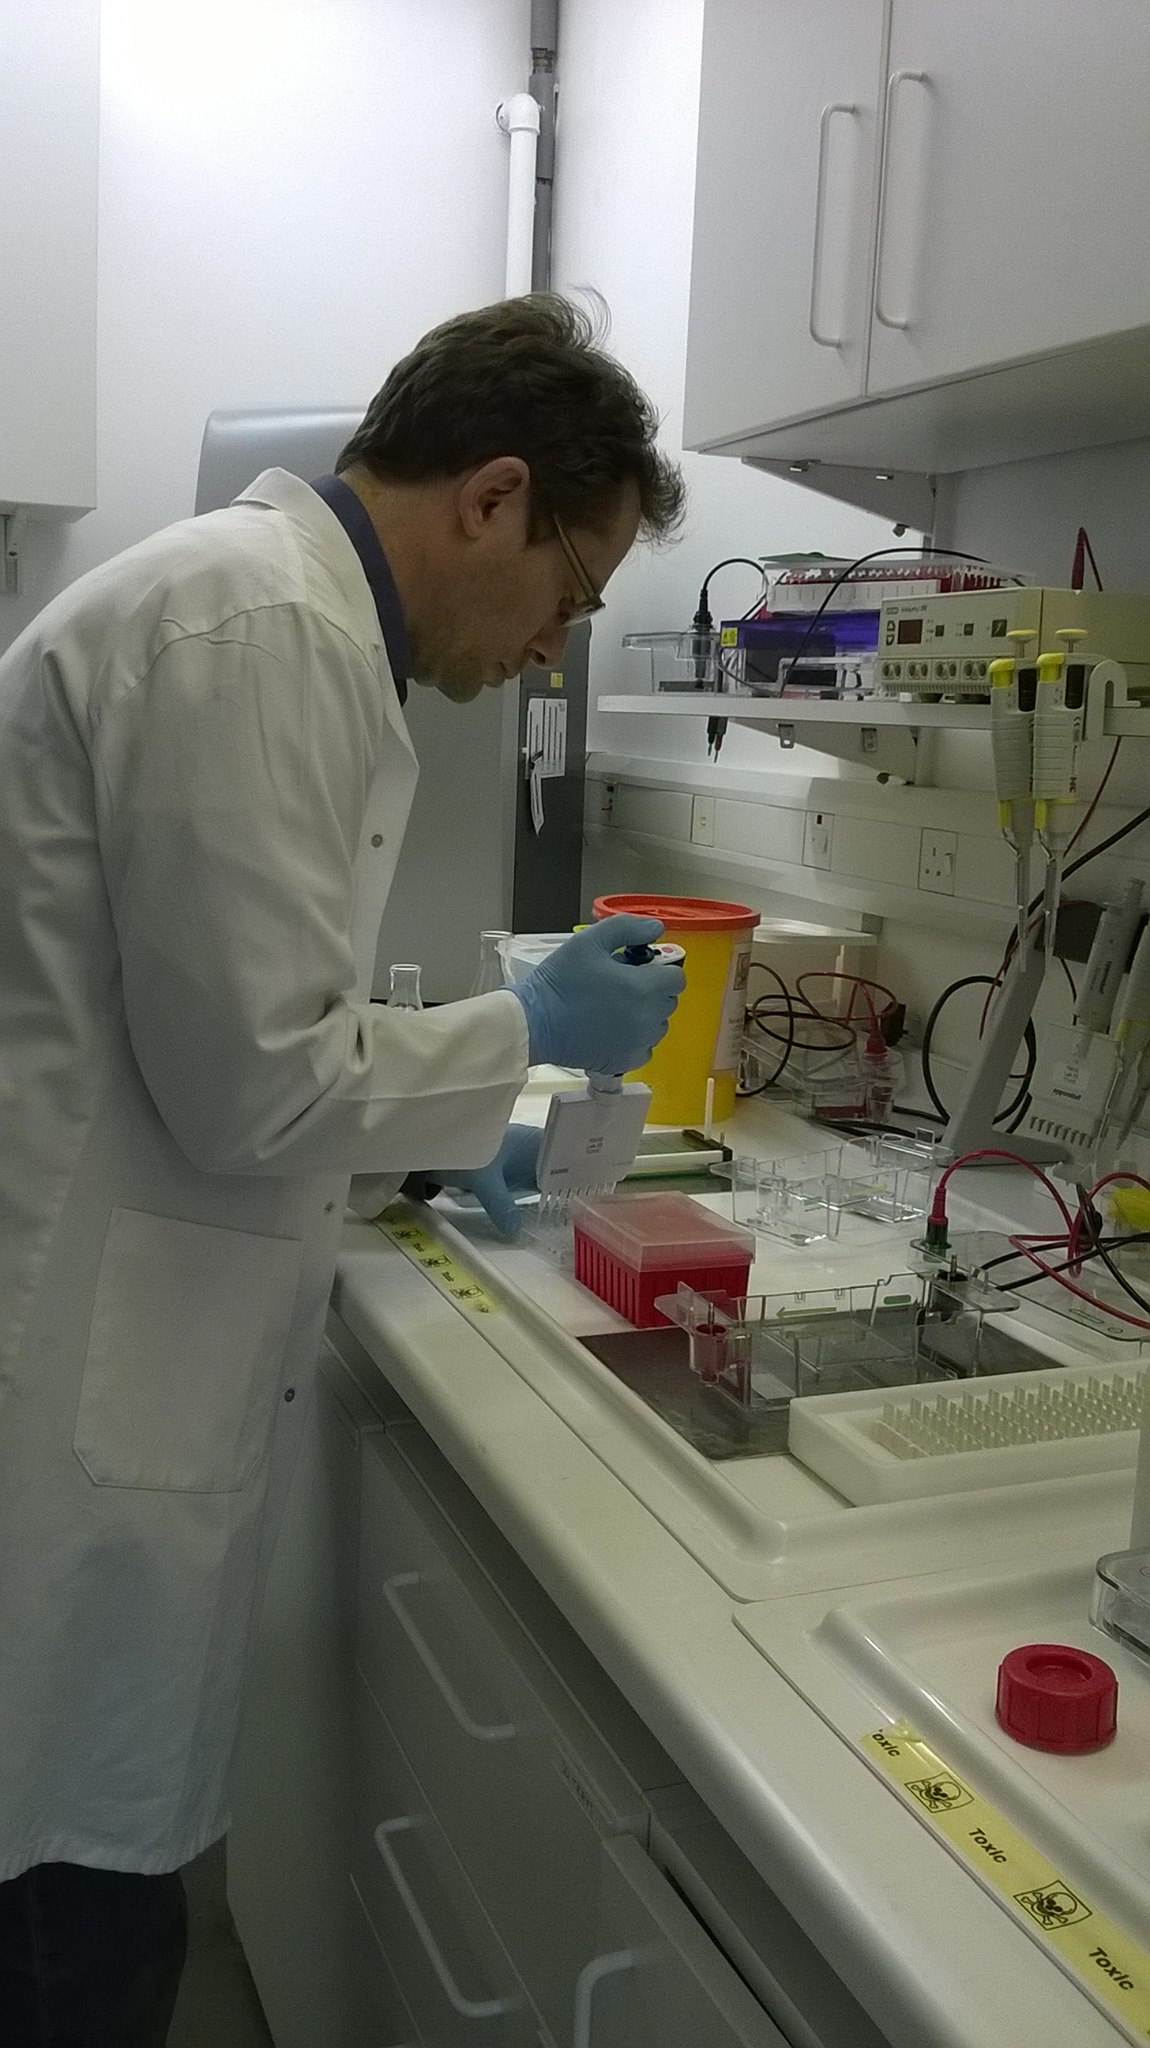
Gel loading in Lab 33
Once the polymerase chain reaction is over, it’s time to Run The Gel; this is make-or-break time, when we find out if our PCR amplification has actually worked.
The first step is to prepare and pour the gel. The gel is a 1-2% mix of agarose in a salt-containing buffer solution (for us, this is usually 1x TBE); the agarose is dissolved into the buffer using heat, in a microwave, and a bit of stain is added. We use about 5 μl of SYBRsafe for a 100 ml gel. The SYBRsafe binds to DNA and fluoresces under blue light, so we can see if we have produced amplified DNA.
After the agarose gel has cooled down to a comfortable temperature (so we don’t risk warping our ridiculously expensive plastic gel set-up with it!) we pour it onto a plate, and add a “comb” which sits in the gel and around which it will set, forming lines of small oblong holes in the gel’s upper surface into which we will later pipette our PCR product.
Setting up the loading buffer and PCR product in Lab 31
While waiting for the gel to set, we mix a small amount of the Schistidium ITS PCR product (3-5 μl) with a little loading dye (1-2 μl). The loading dye serves two purposes: it contains glycerol, which is rather dense and helps the liquid drop into the holes (wells) in our gel, and it also contains a colour (in this case, bromophenol blue), which means that we can see what we’re doing – dropping a colourless liquid through another colourless liquid into a colourless hole would otherwise be rather more an act of faith!
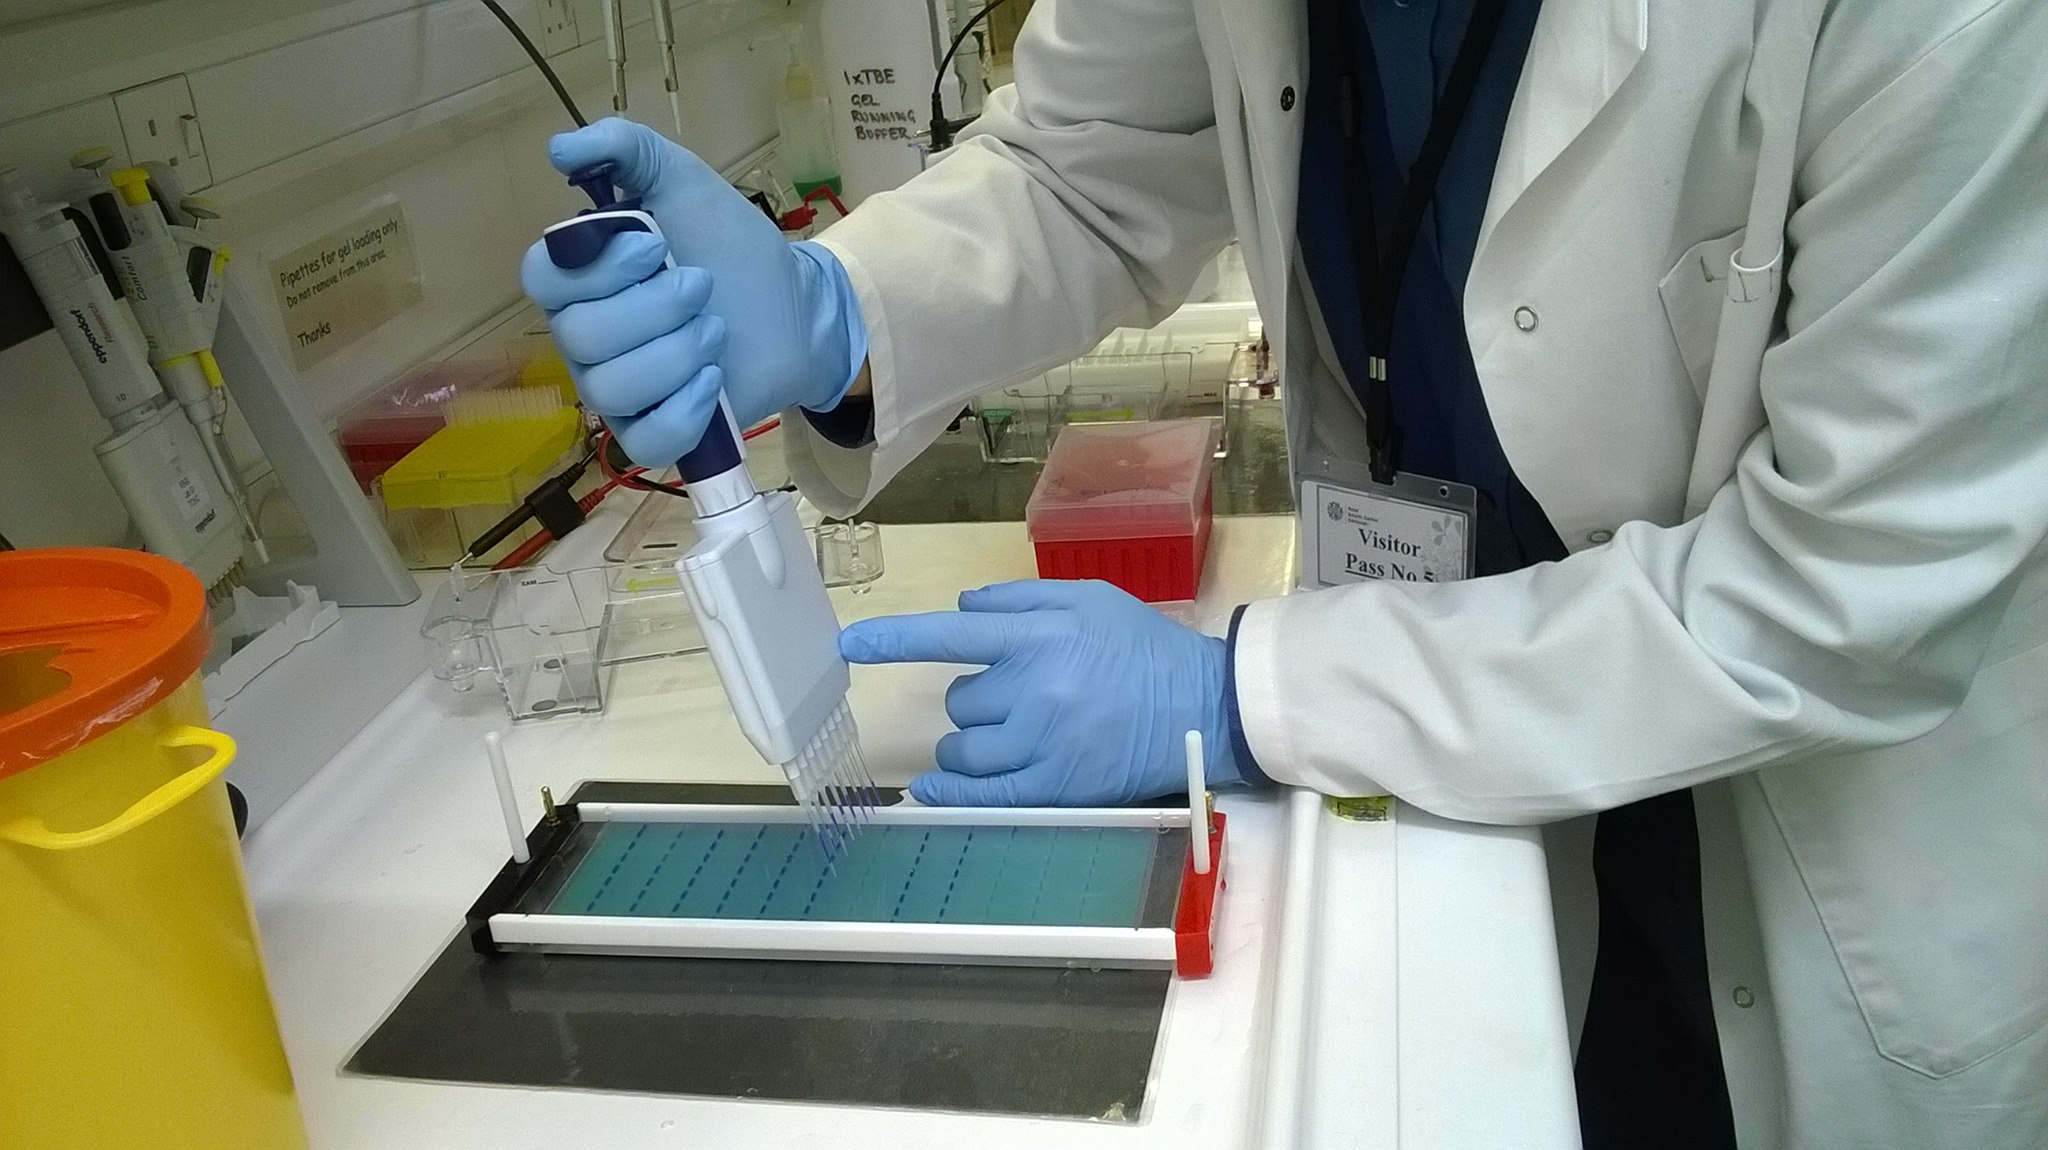
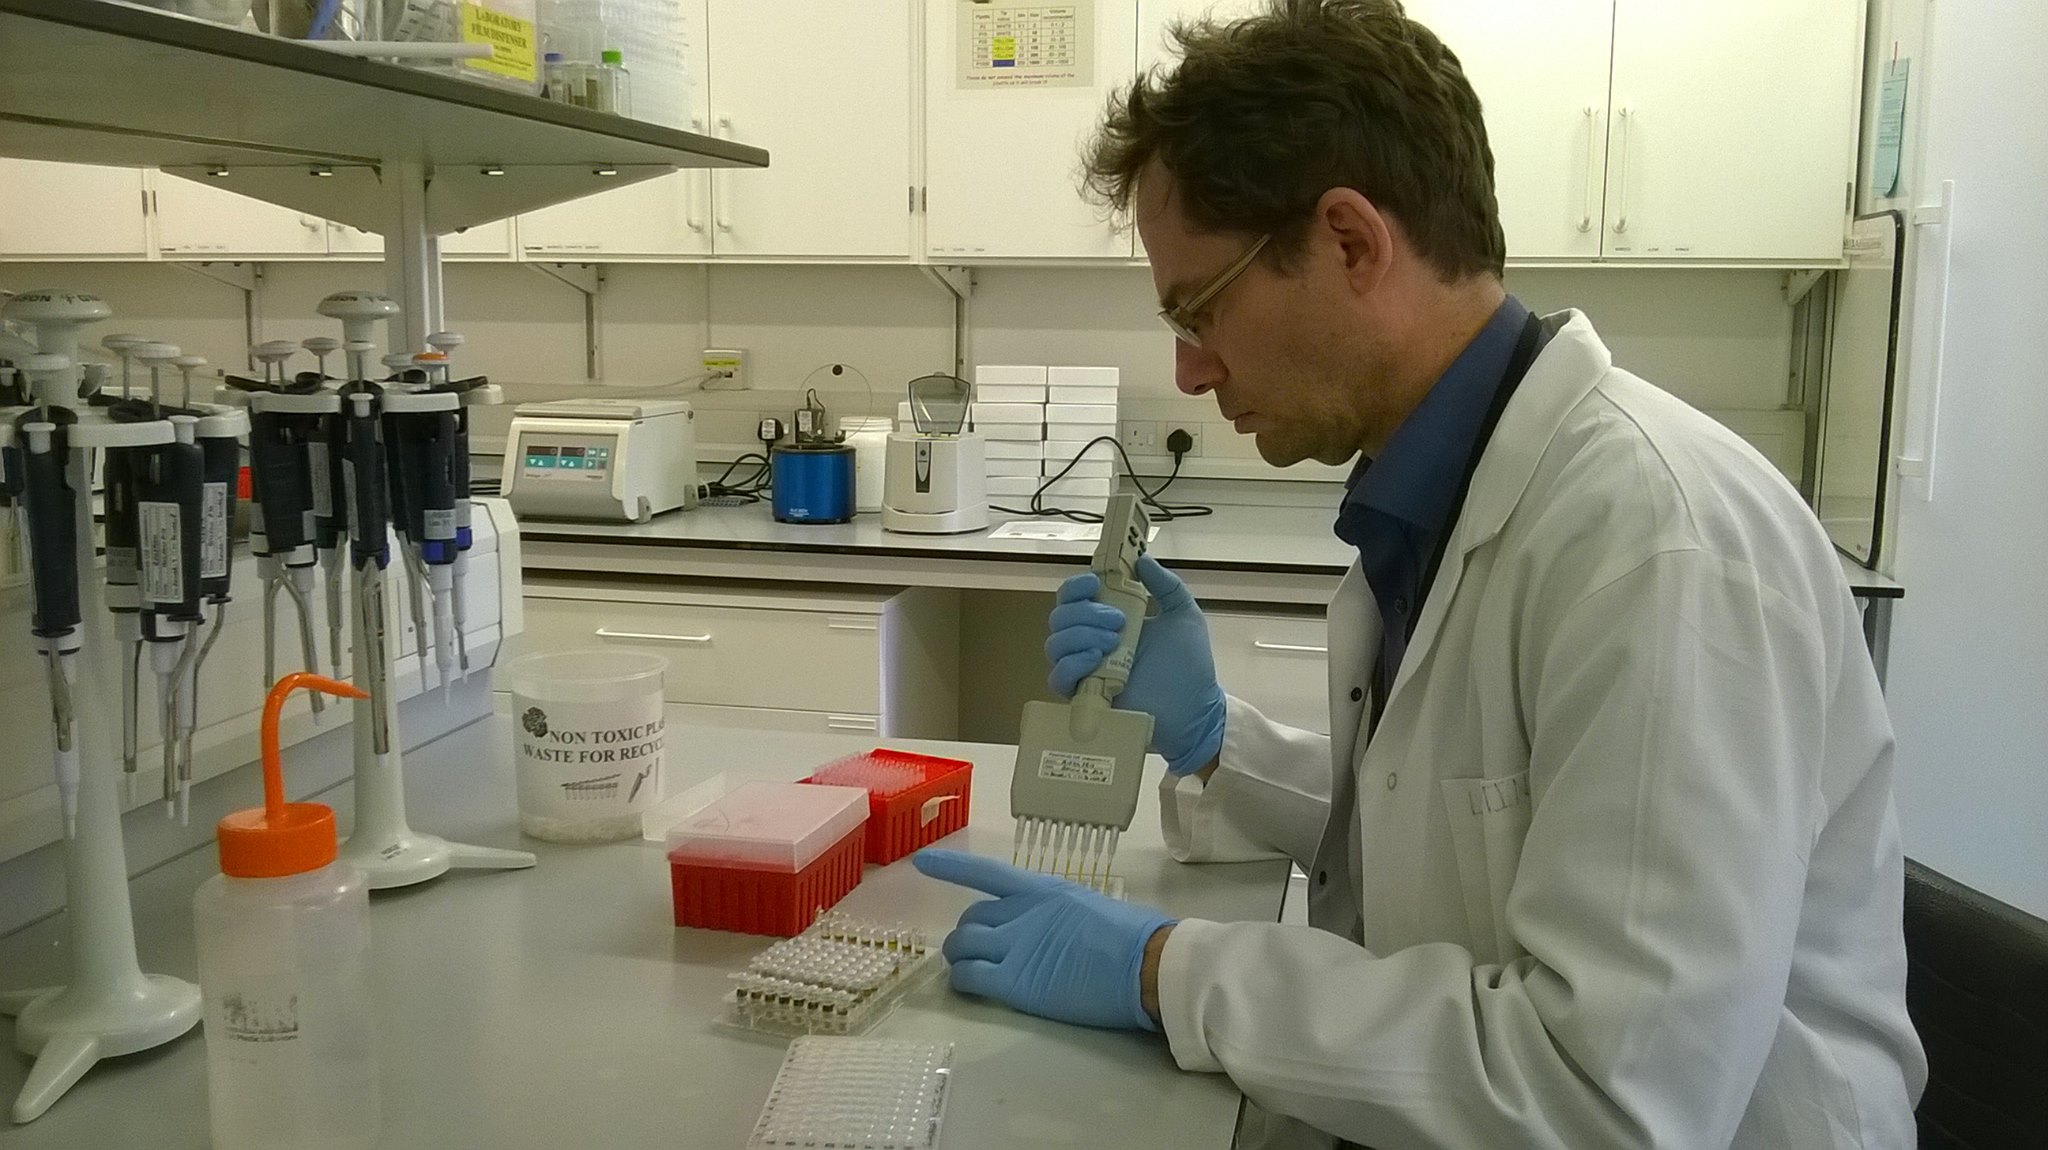
Using a manual multichannel to load the PCR product/loading solution
When the gel has set hard, we lift off the comb, taking care not to rip the gel (which is rather more brittle than gelatine-based jellies), and put the gel into a gel tank, covered with a thin layer of the TBE buffer that was used to make the gel. Then it’s time to load. Down one side, we put 3.5 μl of a “ladder”, a bought-in product containing DNA fragments of known lengths and quantities, which will act as a standard for the gel and let us estimate the sizes of any PCR products that show up. Adding the ladder, in which we know there is DNA, is also like a “positive control” that we’ve made our gel properly – if nothing at all shows up in the image of the gel, then it’s not proof that our PCR reaction failed, but that there was something wrong with our gel.
With the gel set-up that we are using for our plate of 96 Schistidium amplifications, we can load 8 samples at a time using one of the multichannel pipettes. For this, instead of our usual electric multichannels, we use a manual one so that we have more control over the rate of dispensation, and so we can stop if some of the liquid is not going in the right place: it’s quite a precarious operation!

Running our gel
Because the sugar-phosphate exerior of a DNA molecule has a negative electric charge, DNA molecules migrate through an electric field towards the positive electrode, and so if we apply a current to the gel, we can get the DNA to move through it. The filtering effect of the set agarose in the gel means that the DNA molecules migrate at a rate proportional to their size, with short molecules moving quickly, and longer ones more slowly. Generally, 30-45 minutes at 80 volts is enough to see if our PCR is successful.
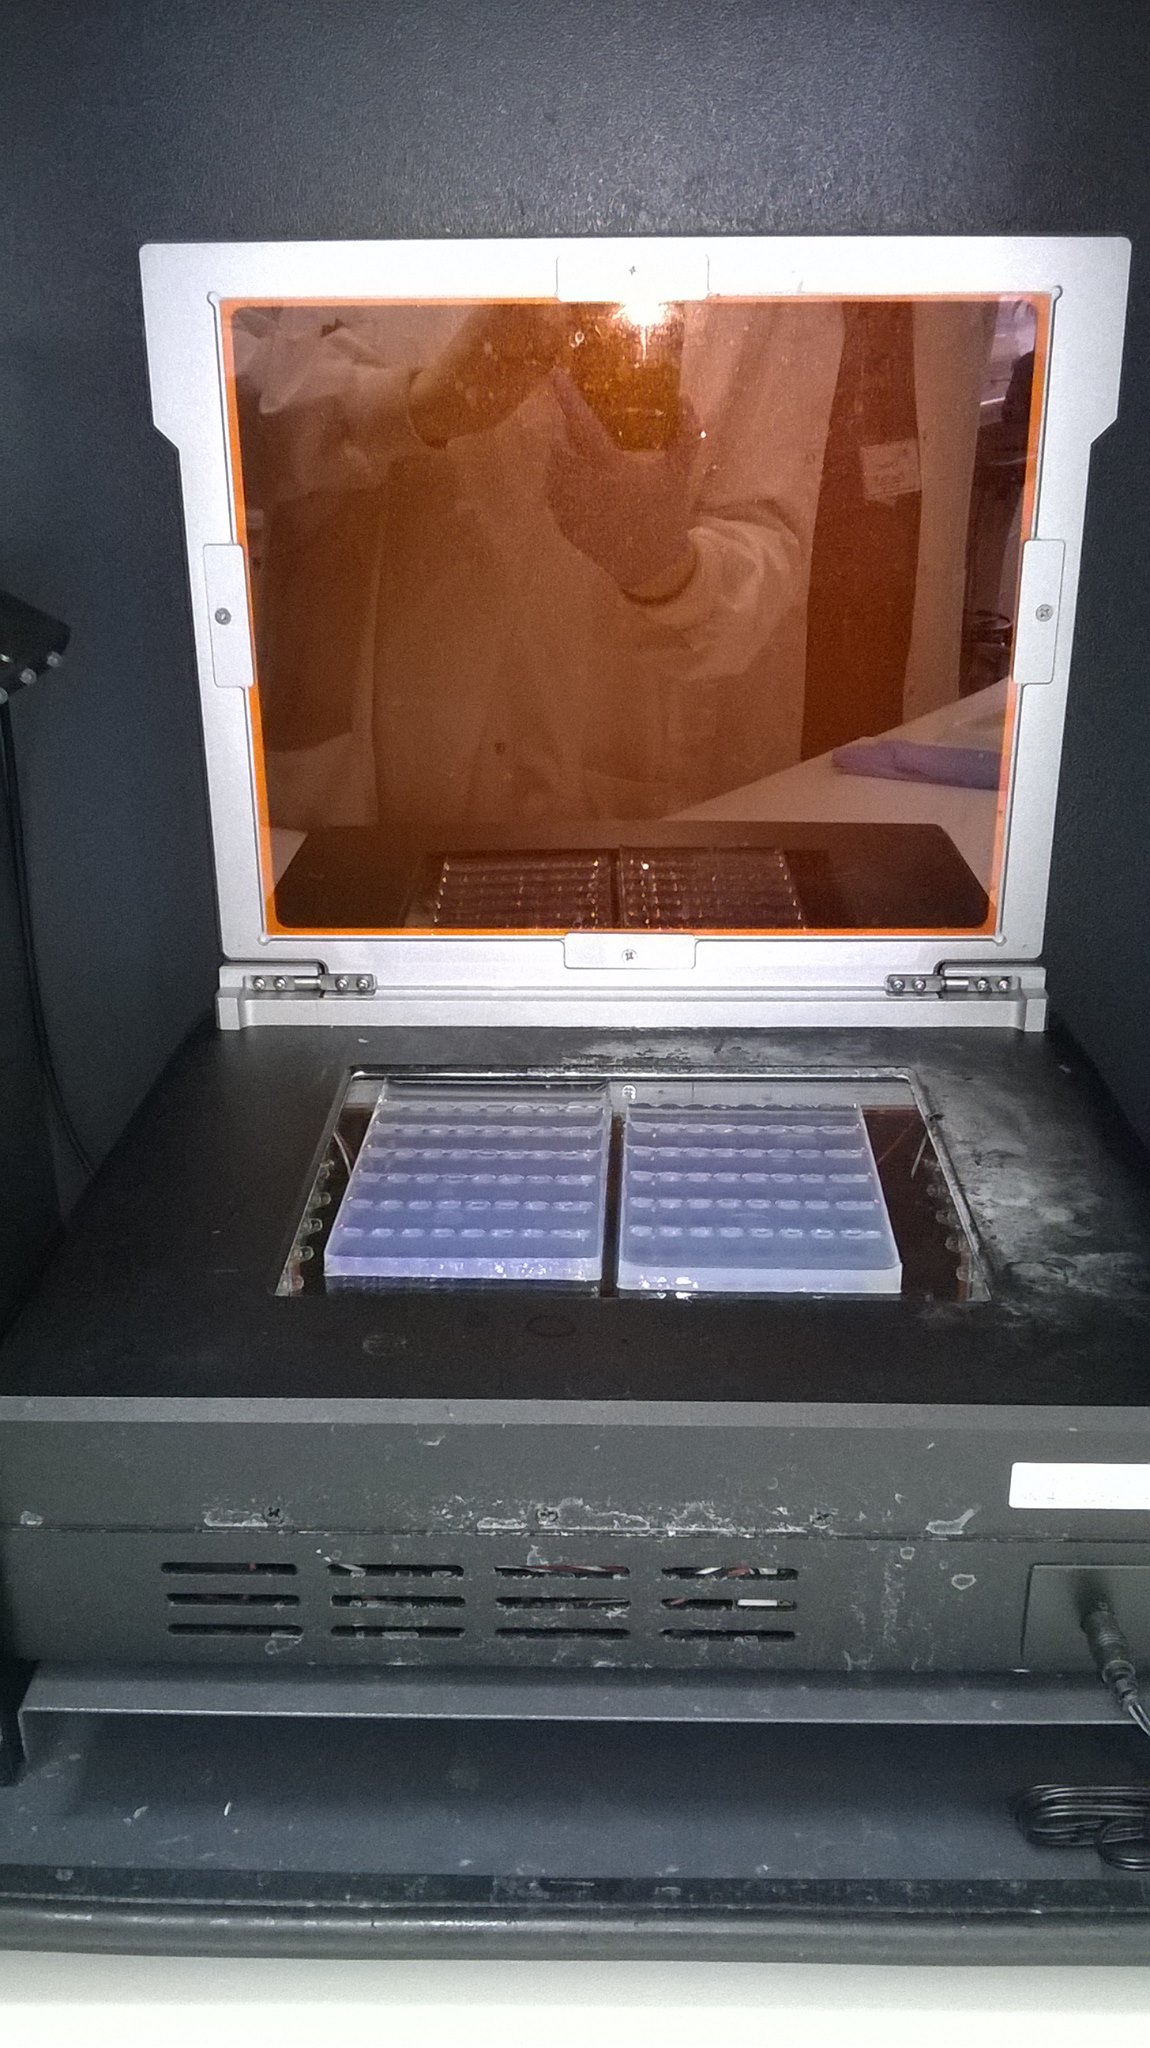
After electophoresis, the gel is placed on the transilluminator
After the gel electrophoresis, the gel is carefully lifted out of the buffer, off the gel tank, and placed on a plate in a light box. (At this point with larger thinner gels like the one we ran for the Schistidium PCR products, it’s quite easy to break the gel.) Because the shape of the gel and of the light box are different, these gels need to be cut in two. Luckily, the halves fit nicely side by side in a single image.

Our gel beneath the filter
An orange filter is added, and when it’s turned on, the transilluminator shines with blue light that will make any DNA stained with SYBRsafe fluorescent, at which point a digital image is taken of the gel.
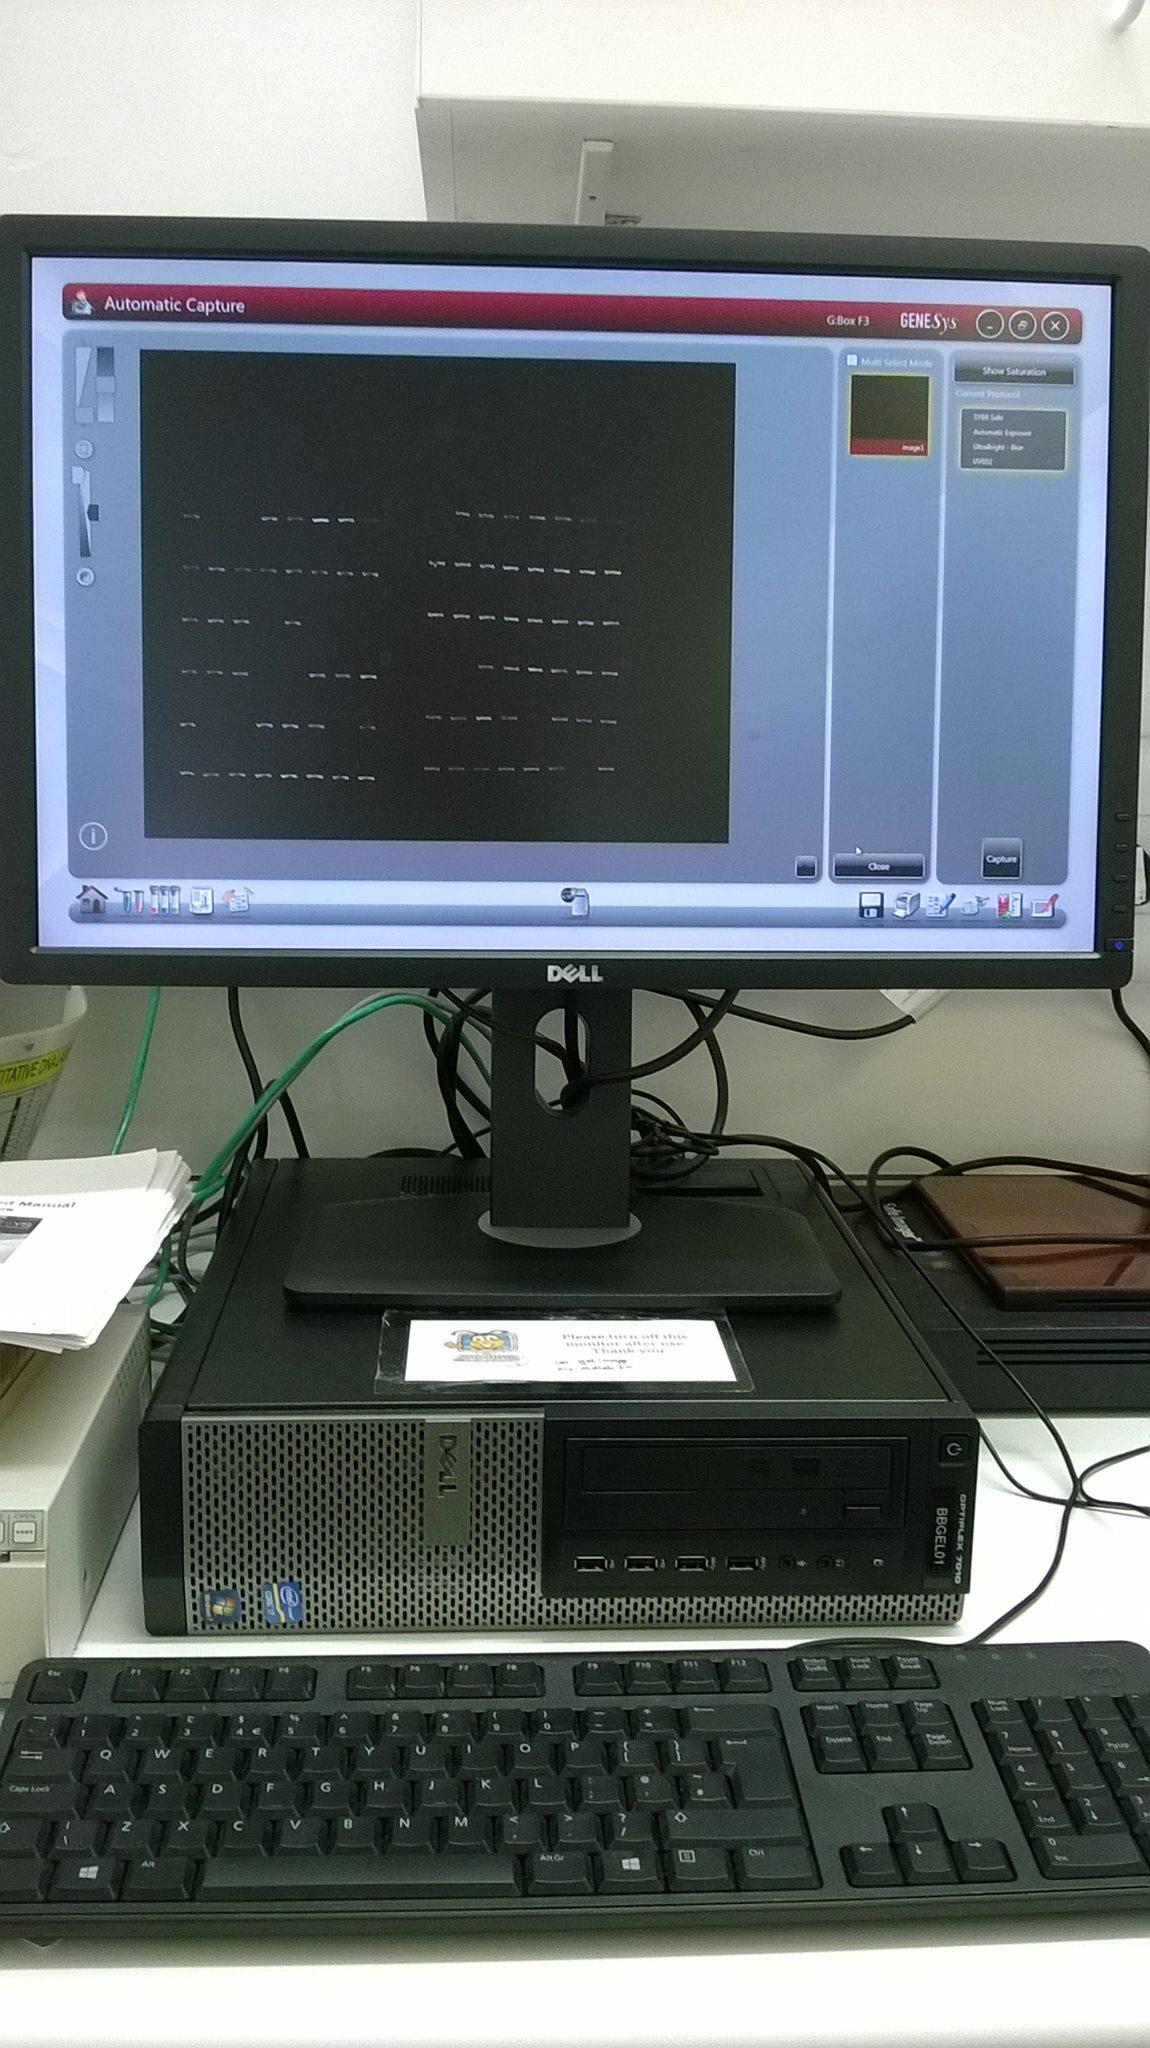
The first image of our Schistidium PCR products
To see what’s on the gel, we use an automated setting, where the computer choses the best exposure for the image. However, a bit of subsequent cropping and fiddling with the image itself can make for a far better gel picture. And the really good news for us is that, looking at our gel, it is clear that most of our Schistidium DNA extractions were successfully amplified for the ITS2 region in our PCR reaction!
The wells can be seen at the top of each row, as darker shadows; for the purposes of this image, the DNA has migrated towards the bottom of the screen. For only about seven of the 96 reactions is there no visible band of PCR product on the gel, and in the vast majority of cases a clear bright single band is present. (The fuzzier band that is sometimes visible a little further down than the ITS product, especially for the second last sample on this gel, is primer-dimer, an artifact caused during PCR, and not the amplified product we want; it’s far far shorter than the region we’re working with, as can be seen by comparing it with the size of our 1 kilobase DNA ladder).

Cropped and adjusted gel image picture, with a ladder on the right hand side of every third row
Links to reports on Moss diversity in an artificial landscape, an EU Synthesys Access project with Dr Wolfgang Hofbauer at RBGE:
- Building on building mosses, a return to Schistidium in the built environment http://stories.rbge.org.uk/archives/24310
- Volunteering at the Botanics – bryophytes in our living landscape http://stories.rbge.org.uk/archives/24333
- Campylopus introflexus, an invasive alien on the glasshouse roof http://stor/ies.rbge.org.ukarchives/24359
- The trials and tribulations of a moss in the lab: DNA extraction http://stories.rbge.org.uk/archives/24399
- Copying moss DNA in the molecular lab http://stories.rbge.org.uk/archives/24451
- Gel electrophoresis of Schistidium ITS DNA