One of the amazing things about the polymerase chain reaction, PCR, is how little starting DNA is needed, with an exponential increase in the number of copies of the region of interest that are made in each cycle. This means that it’s a technique that can work quite successfully even if the concentration of the original DNA extraction is too low to see. The quality testing for most of the DNA that’s extracted at RBGE is thus simple – does it work? If we can amplify the DNA by copying the region of it that we’re interested in, that’s all we need to know, and so we don’t waste time and resources gathering unnecessary metrics about its quantity or quality.
However, sometimes PCR fails for a sample that is precious, and it could help our troubleshooting to know something about the quality of the DNA that we extracted from it. Alternatively, with some DNA extractions we’re not simply doing a few PCRs, but are sending the DNA for the rather more expensive process of next-generation sequencing, where we might be spending £1000s instead of £10s on getting data. In these cases it becomes important to know a bit more about the DNA extraction. There are several ways to get more information, and not all of them will be required for all DNA samples; a large part of deciding which metrics to gather is going to be how much time and money is available to spend on each sample.
AGAROSE GELS

Agarose gel running in Lab 33 at the Botanics
One of the cheapest ways to get an idea about DNA quantity and quality is still just about the most informative – running the DNA out on an agarose gel, where its negative charge means that it will migrate towards the positive electrode in an electric current.
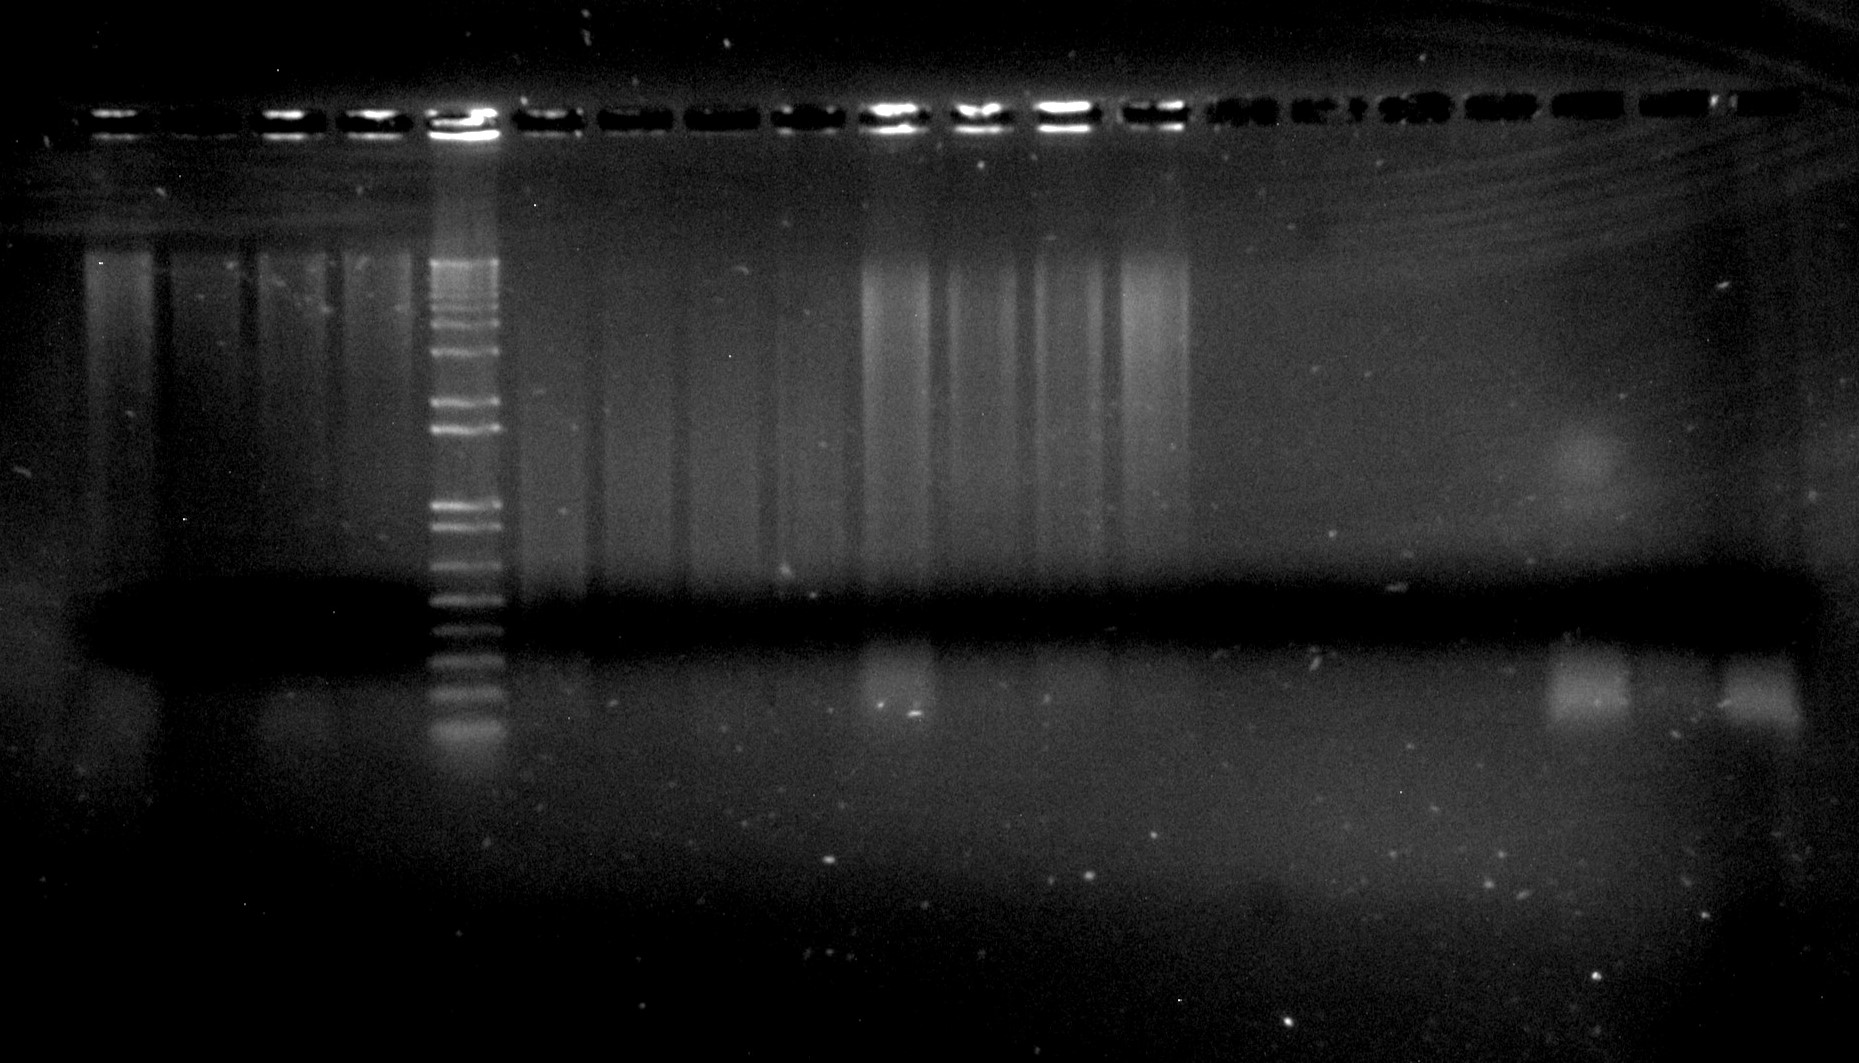
Inga umbellifera DNA extractions: lanes 1-4: 2009 silica; 5: Invitrogen 1kb ladder; 6-9: 2004 herbarium; 10-13: 2009 herbarium; 14-17: 1840 herbarium; 18-30: 1948 herbarium
We would recommend using a higher percentage agarose gel than we would use for shorter bits of DNA like PCR products (i.e., a 2% agarose TBE gel for genomic DNA). At RBGE, we use a stain called SYBRsafe, which is bright under blue light. We also always run a DNA ladder (usually 1kb+) of known concentration, so that we have a standard on every gel with which we can compare the brightnesses of DNA bands. This gives us a rough estimate of the concentration of our DNA, as well as letting us see whether we have high molecular weight (a large band that doesn’t migrate far into the gel, like the first four lanes in the image), or degraded (a bright smear, like the lanes in the middle of the image) DNA.
SPECTROPHOTOMETRY
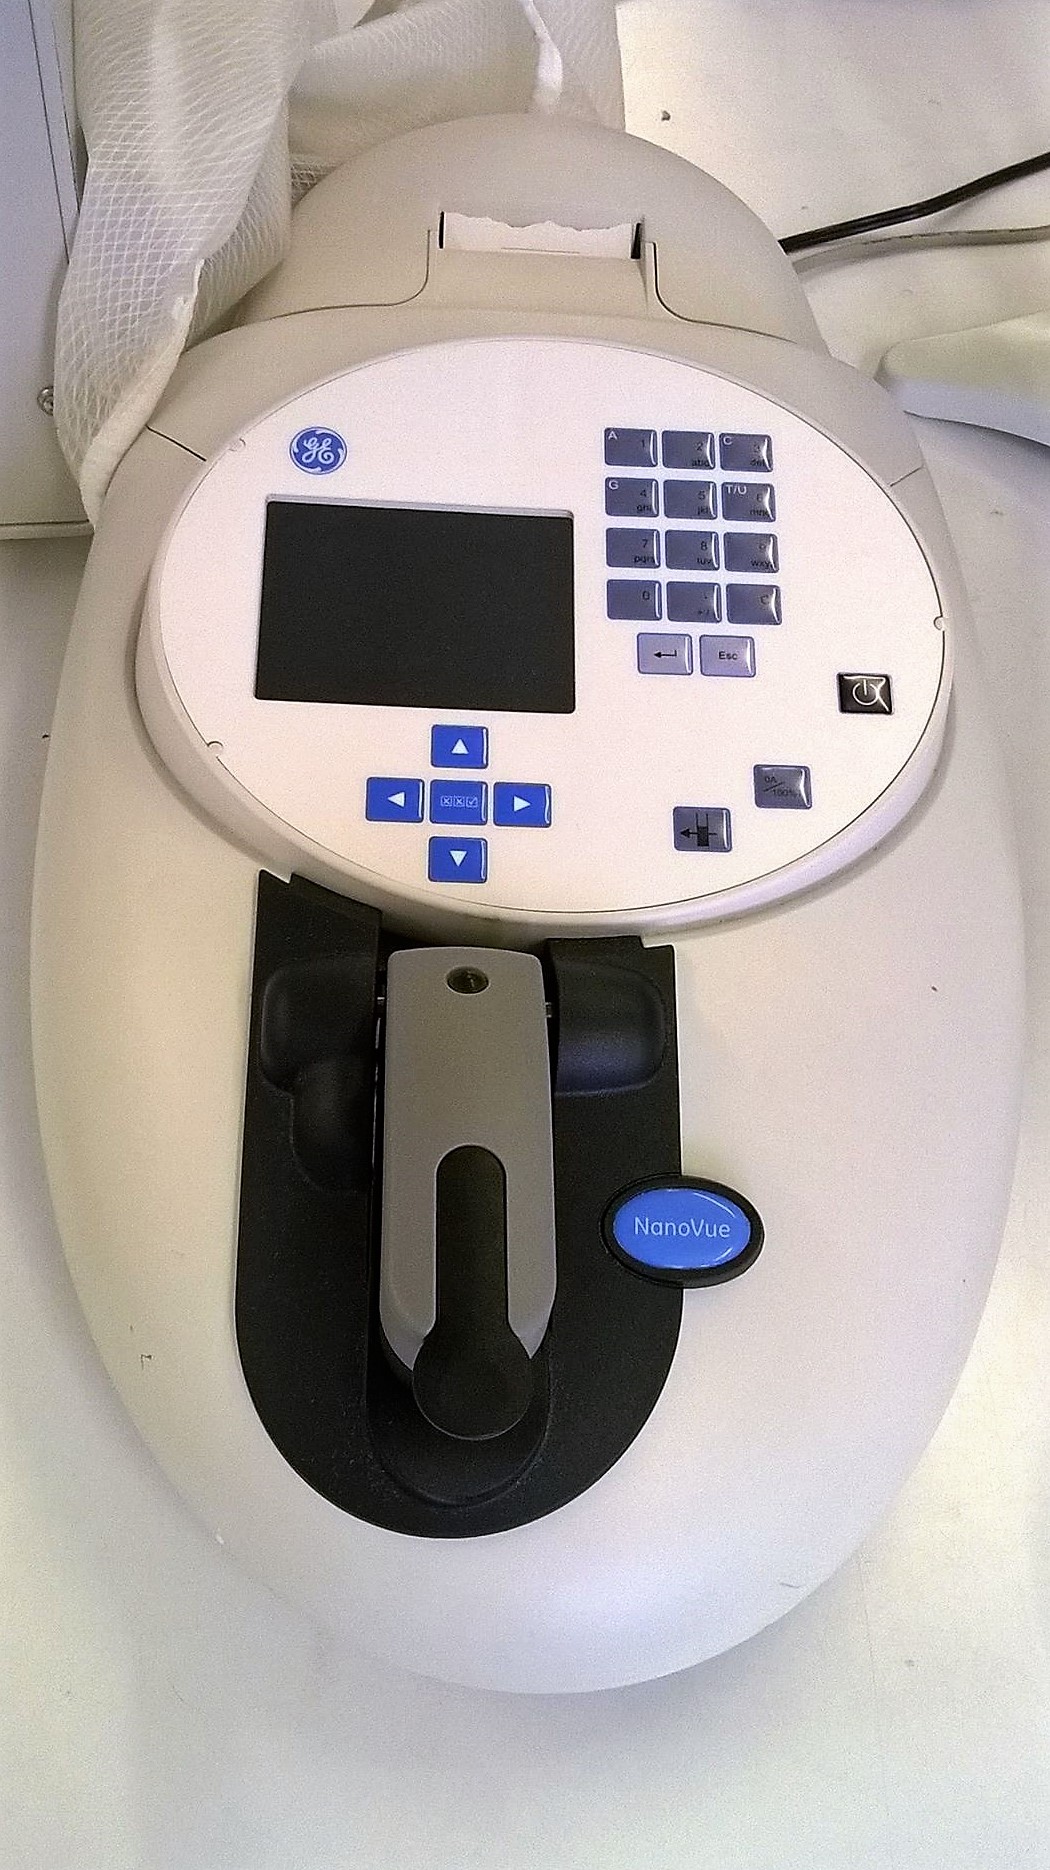
The NanoVue in Lab 32 at the Botanics
This is the fastest and cheapest method for getting some metrics about a DNA extraction. The machine that we use at RBGE is a NanoVue. There’s no cost involved in using the machine, beyond a single pipette tip, and that we would recommend throwing away the bit of DNA extraction that is pipetted onto the machine for the measurement! However, estimations of DNA quantity obtained from the NanoVue rarely match up with estimates obtained by fluorometry, which is a more reliable method.
Our main use of the NanoVue is to get a ratio of absorbance at 260nm to 280nm, which correlates with the purity of the DNA (or RNA) sample. Pure DNA and pure RNA preparations have expected ratios of 1.7-1.9, and ≥2.0, respectively. Deviations from these ratios indicate that there are impurities in the DNA extraction, and therefore that it might benefit from some additional cleaning steps.
FLUOROMETRY
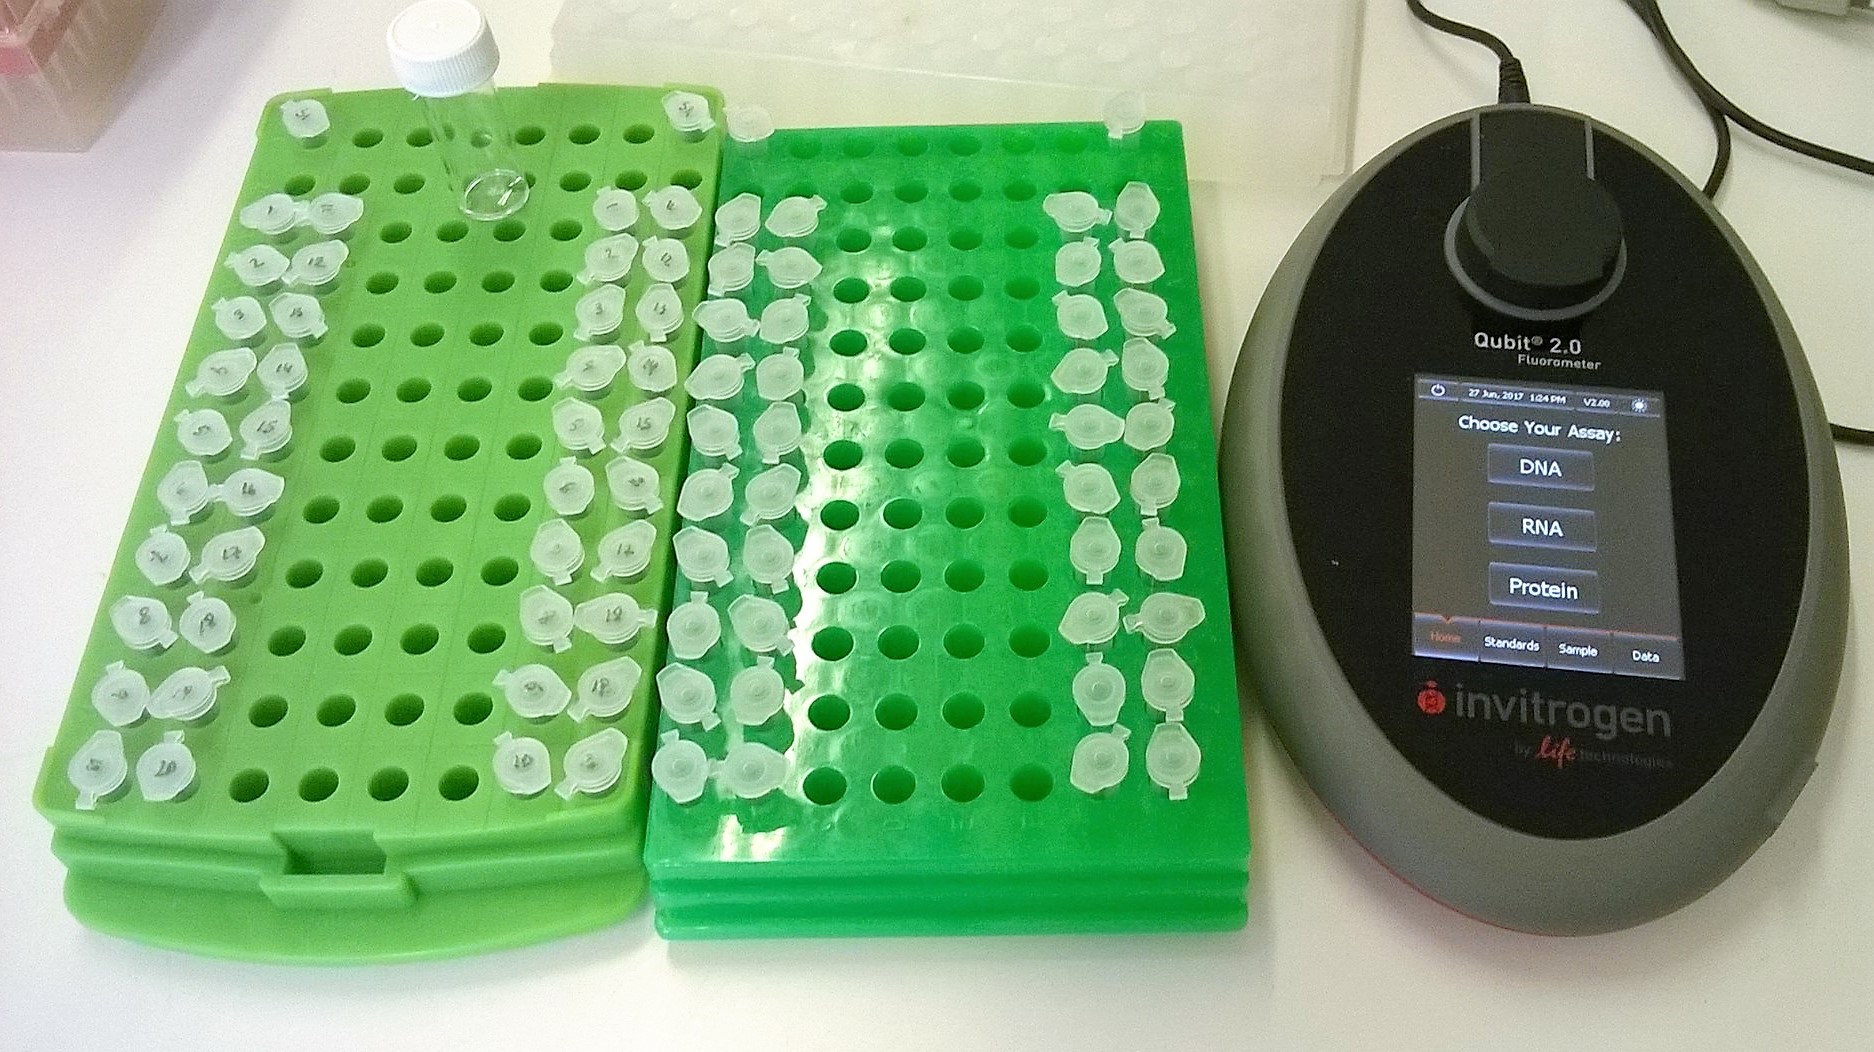
Tubes of DNA waiting to be quantified in the Qubit in Lab 32 at the Botanics
We have a Qubit that can be used to measure amounts of DNA. We keep four kits in stock at RBGE: High Sensitivity (HS, which can be used for DNA of up to 10 ng/μl) and Broad Range (BR, which can be used for DNA of up to 100 ng/μl) kits for both DNA and RNA.

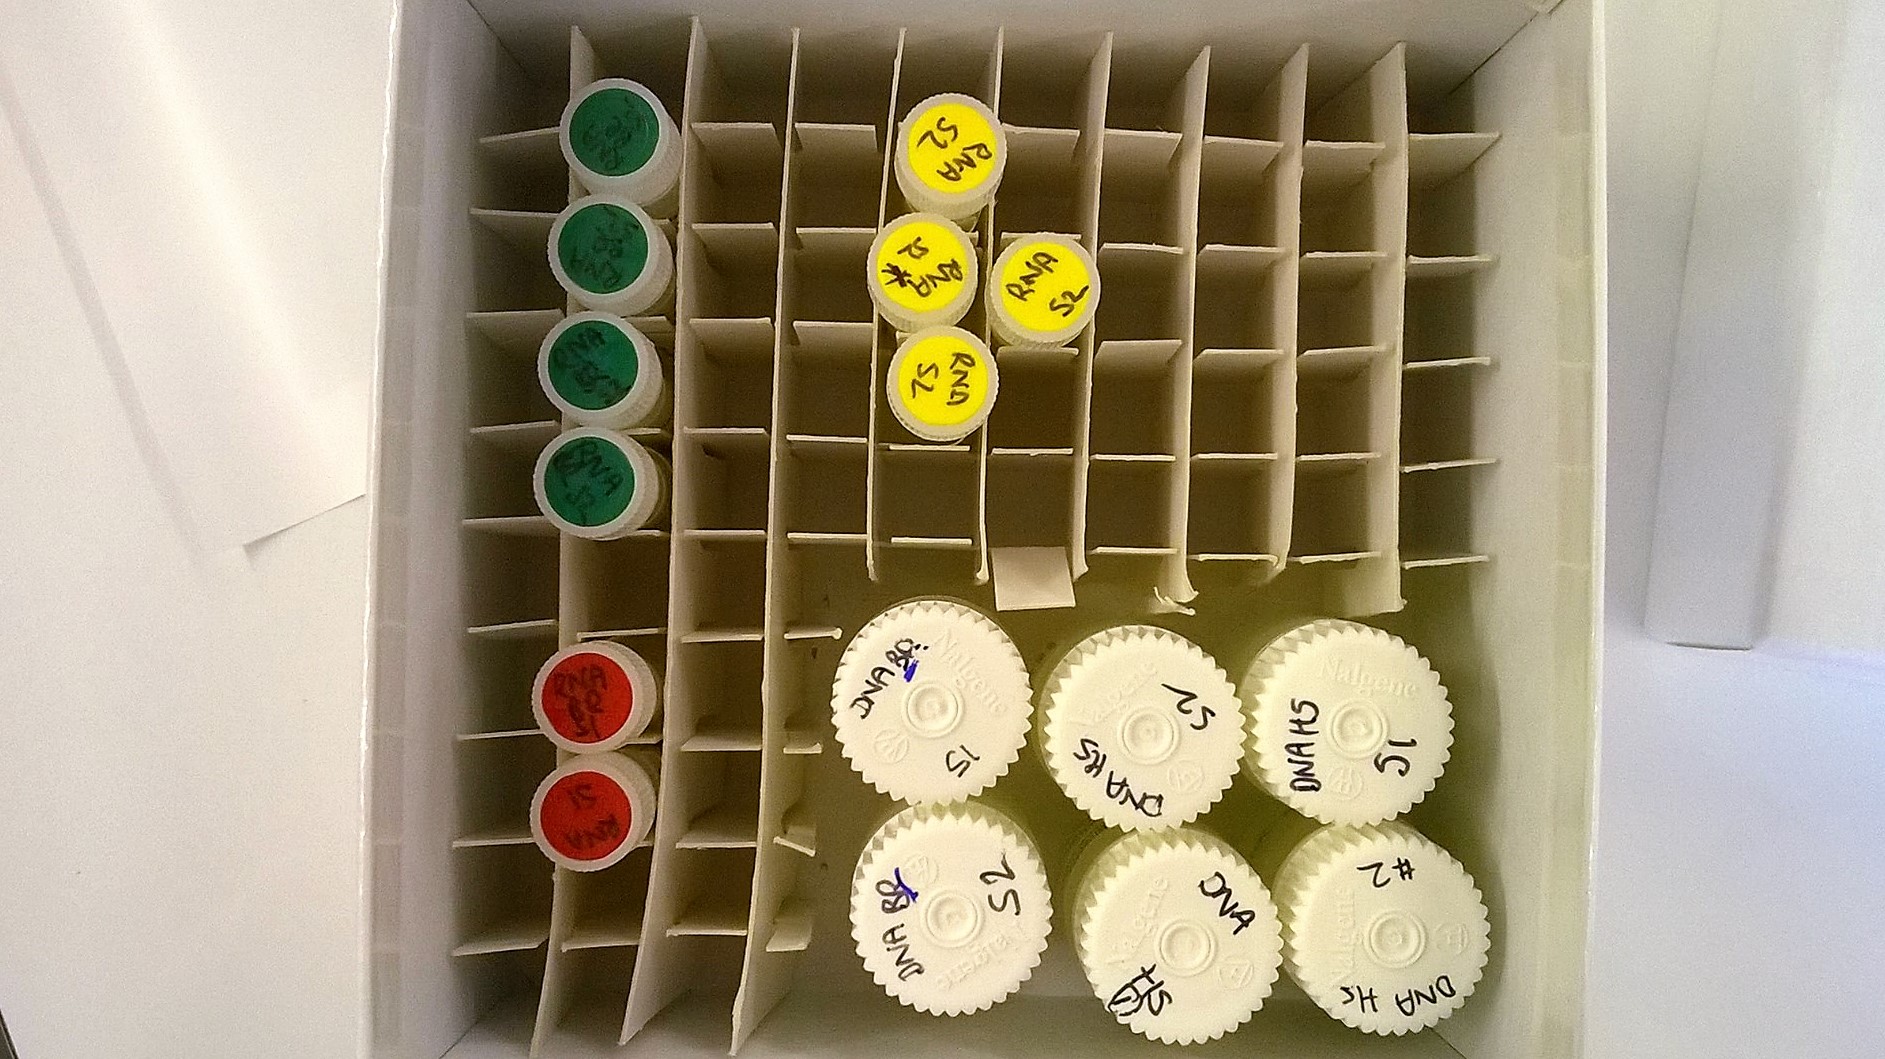
Qubit buffers and reagents are kept in a drawer in Lab 32 (room temperature, but dark)
These all have different buffers, reagents and standards, so after choosing the appropriate kit, ensure that all the bits match up! In order to select the right kit for the DNA extraction that’s being quantified, it’s best to already have an idea about the expected concentration of the DNA, as if the measurements are “out of range”, they will have to be repeated with the correct kit (doubling the time and cost). This is where having already run the DNA out on an agarose gel is very helpful!
The DNA and RNA standards for the Qubit kits, kept in the fridge in Lab 32
Although there is an option of using “stored standards”, always run your own standards. The previous user may not have pipetted very carefully, they may even have made errors in calculating how much buffer and reagent to put in their master mix.
For a very rough estimate of concentration, corners (and costs) can be cut by only taking one Qubit reading per DNA extraction. However, it is best to prepare two Qubit tubes from each sample – and then if there is any disagreement, to take yet another reading.
TAPESTATION

The Agilent TapeStation, in Lab 33 at the Botanics
Continuing the mantra of the importance of the agarose gel in assessing DNA quality, we wouldn’t run a sample on the TapeStation until it has been run on an agarose gel. This helps select the appropriate kit, and also the appropriate amount of genomic DNA to load. We have two kits in stock, Genomic DNA ScreenTape, and High Sensitivity D1000 ScreenTape for fragmented DNA (e.g., post-digestion or post-sonication DNA from next-generation library preparations).
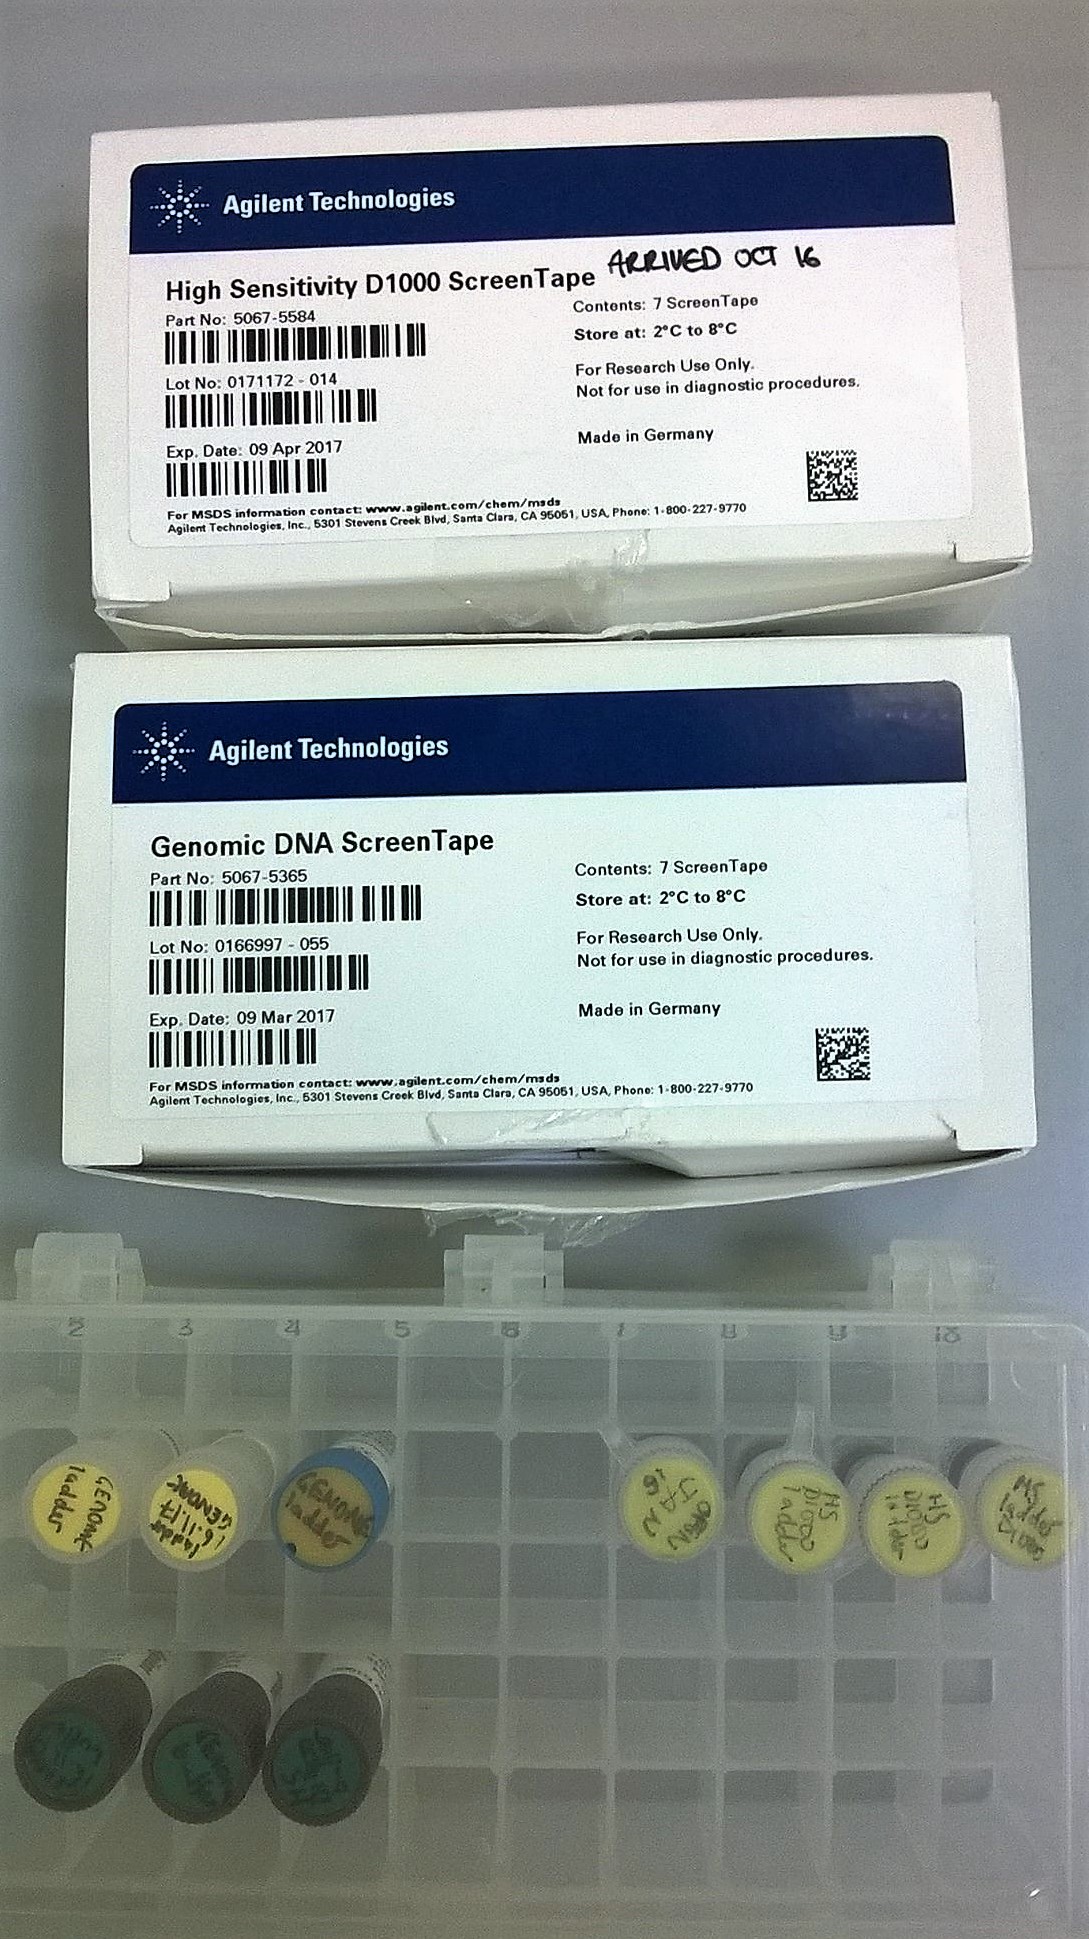
The Tapes, buffer and ladders for the two TapeStation kits, stored in the fridge
The recommended input range for the Genomic DNA ScreenTape is 1 μl of 10-100 ng/μl DNA. However, while this 1 μl of genomic DNA extraction is good for high quality extractions containing plenty of DNA, many of the extractions we make are from difficult material where the quantity of DNA is very low and/or it is highly degraded. Degraded DNA is made up of fragments of a huge range of sizes, and is thus spread across the length of the lane rather than being clumped in one place, so is far harder to visualise.
Loading 2, 3 or even 4 μl instead might give a good TapeStation image (although it will invalidate any estimations of DNA concentration).
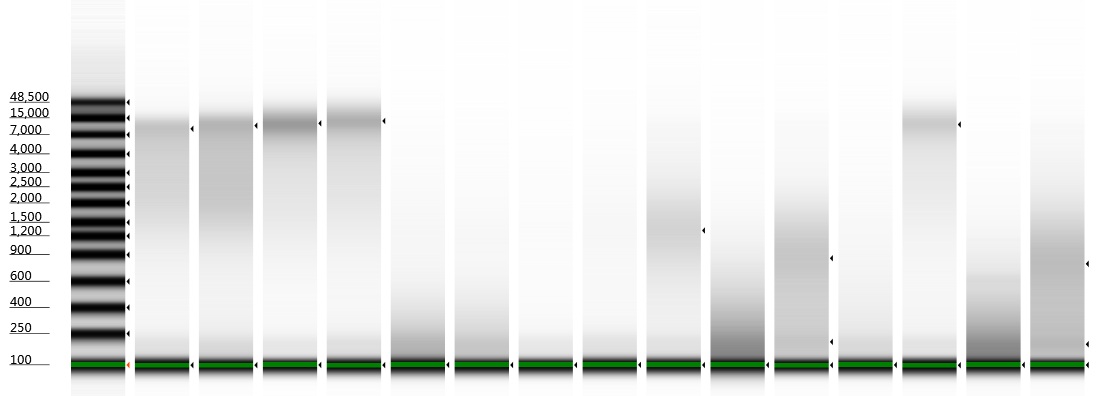
Tapestation gel of Inga umbellifera DNA: 2009 herbarium; 2009 herbarium; 2009 silica; 2009 silica; 1948 herbarium; 1840 herbarium; 1840 herbarium; 2004 herbarium; 1932 herbarium; 1932 herbarium; 1835 herbarium; 2009 silica; 1932 herbarium; 1932 herbarium
One metric that can be obtained from a Genomic DNA ScreenTape assay is a DNA Integrity Number (DIN). The highest numbers are issued to high concentration high molecular weight bands of DNA (like those from silica dried tissue samples in the image above), and the lowest to degraded smears. With the degraded DNA that tends to be extracted from herbarium specimens, it’s not uncommon for the machine not to recognise the DNA as genomic, and thus for no DIN to be given. Also, for extractions containing low quantities of DNA, a DIN might not be given; increasing the amount of DNA loaded on the Tape can result in a DIN being given to the sample.
The Genomic DNA ScreenTape kit places a single short size marker in each lane, highlighted with a green band in the image above. The High Sensitivity D1000 ScreenTape kit, on the other hand, contains two size markers, one short and one large. A large size marker is not possible for the Genomic kit, as it would overlap with any high molecular weight DNA.
With highly degraded herbarium DNA, it may be worth running the sample on the High Sensitivity D1000 ScreenTape, which works for DNA fragments of between 35 and 1000 base pairs. Because the kit is not designed for genomic DNA, the sample will not be given a DIN, but the DNA fragment size distribution information can be useful if trying to decide how best to prepare a next-generation sequencing library from the DNA, if it still contains some fragments that are long enough to require fragmentation.