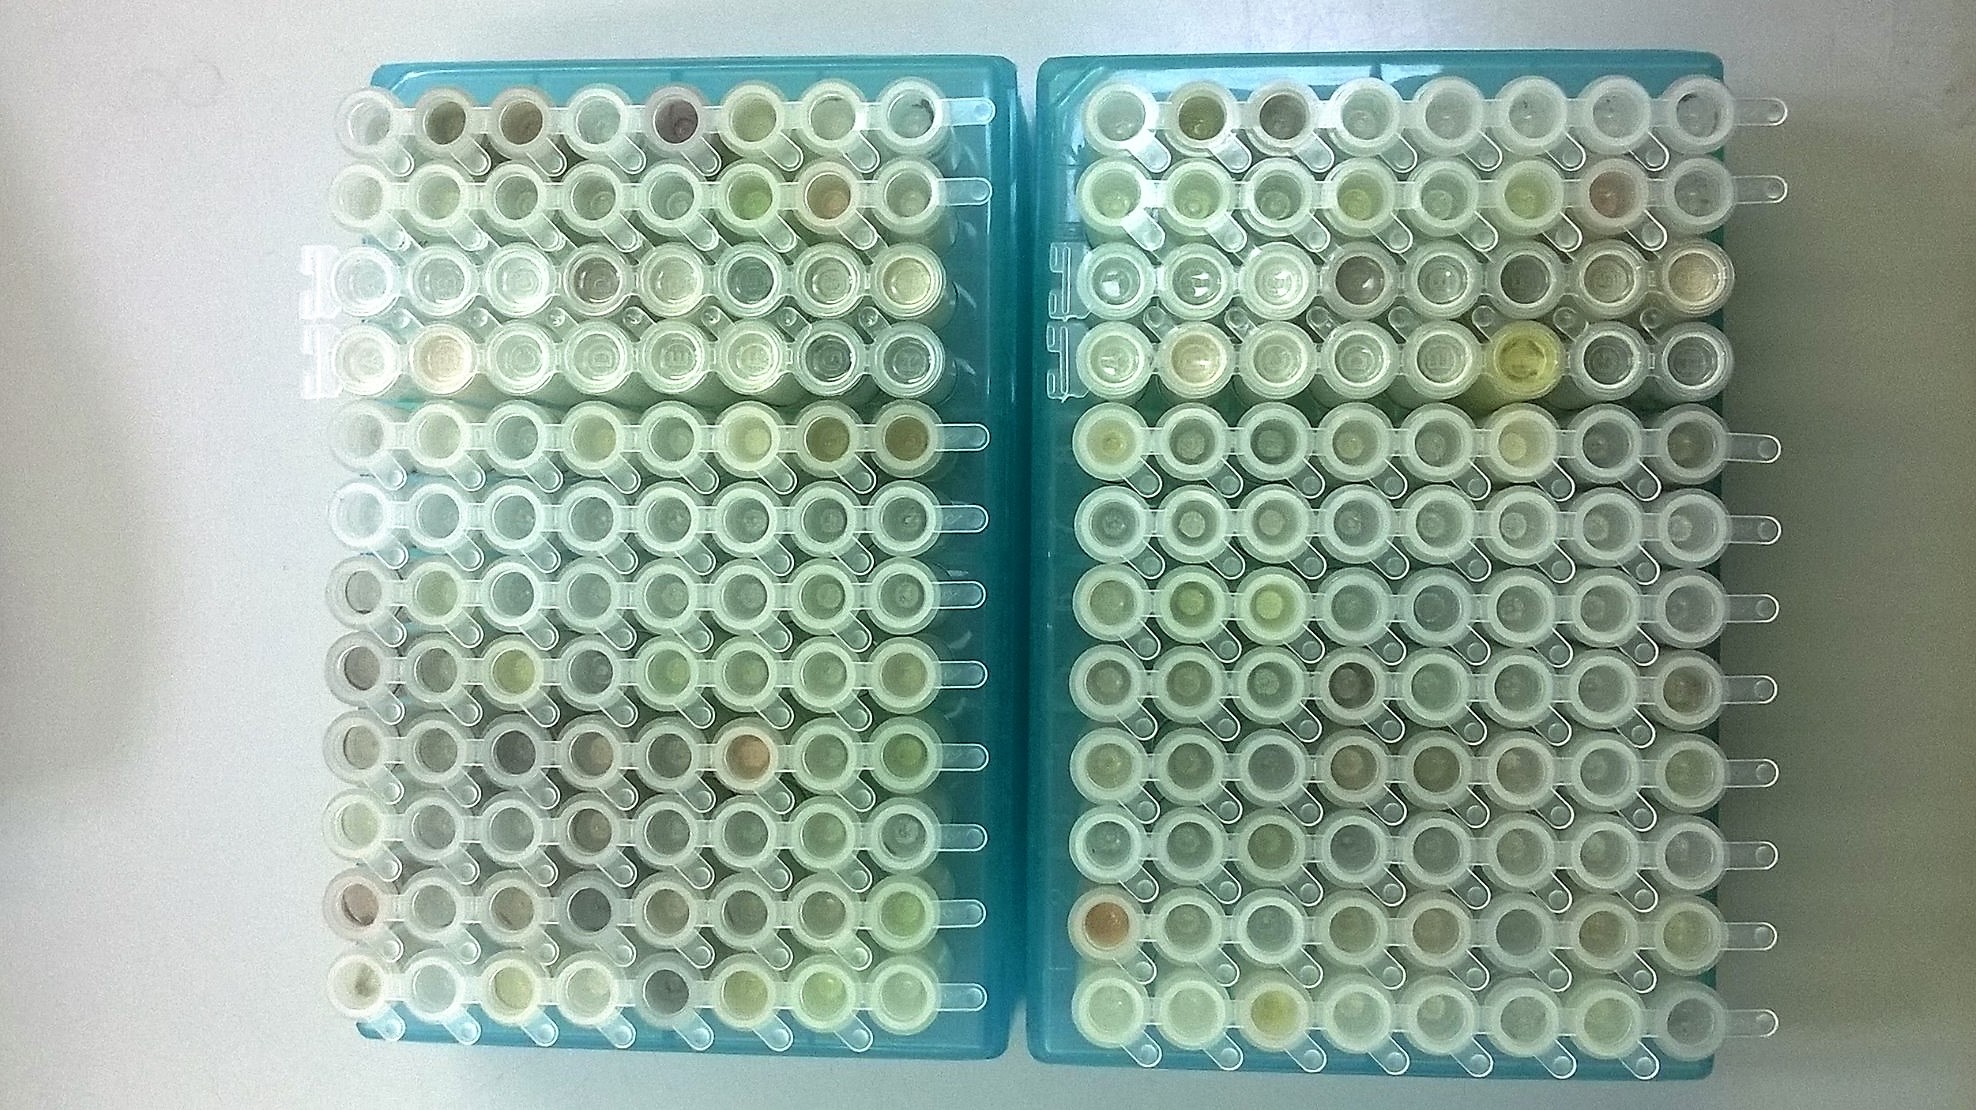
Two plates’ worth of tissue samples, ground and ready for the addition of the lysis buffers
Having got together two plates of tubes with little bits of plant and lichen tissue in them, and pulverised them with tungsten beads in a TissueLyser for a couple of minutes at 20 Hz to break open the tissue (thus allowing DNA extraction buffers to get through plant cell walls and into the cell nuclei), there are a few more manual steps before the semi-robotic DNA extraction system that we use at RBGE can come into play.
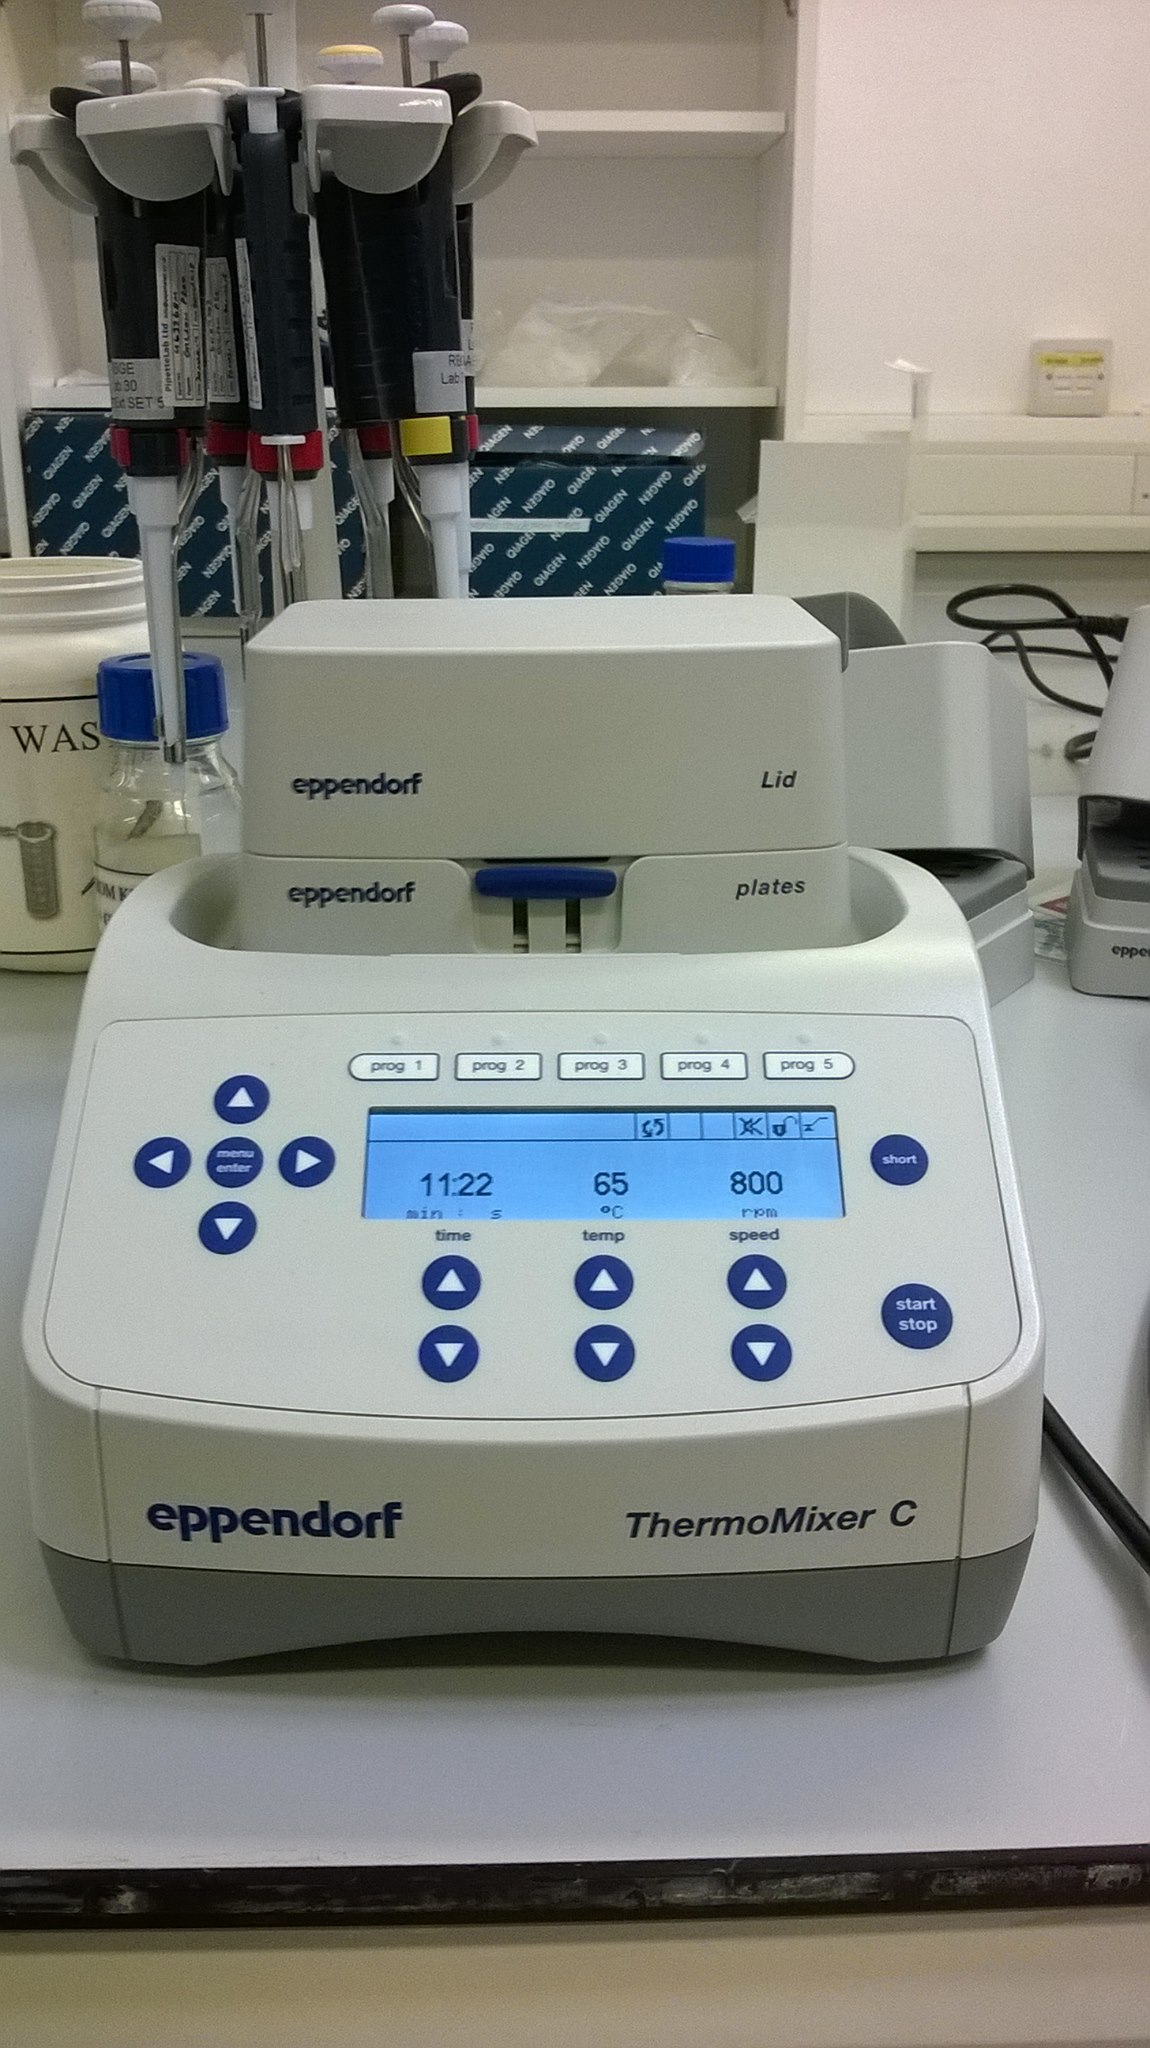
ThermoMixer for the cell lysis step
I was testing two different DNA extraction kits that can easily be used with the system that we have. With the first kit, a DNeasy® Plant kit, the samples were left in 400 μl of lysis buffer (AP1) for an hour or so at 65°C, gently vibrating in one of our ThermoMixers, then placed on ice for about ten minutes after a second buffer (P3) was added. The QIAamp® kit had a rather different protocol, with the samples left 5 hours to overnight in the ThermoMixer at 56°C, in 180 μl of buffer (ATL) and 20 μl of the enzyme proteinase K, and there was no cold precipitation step.
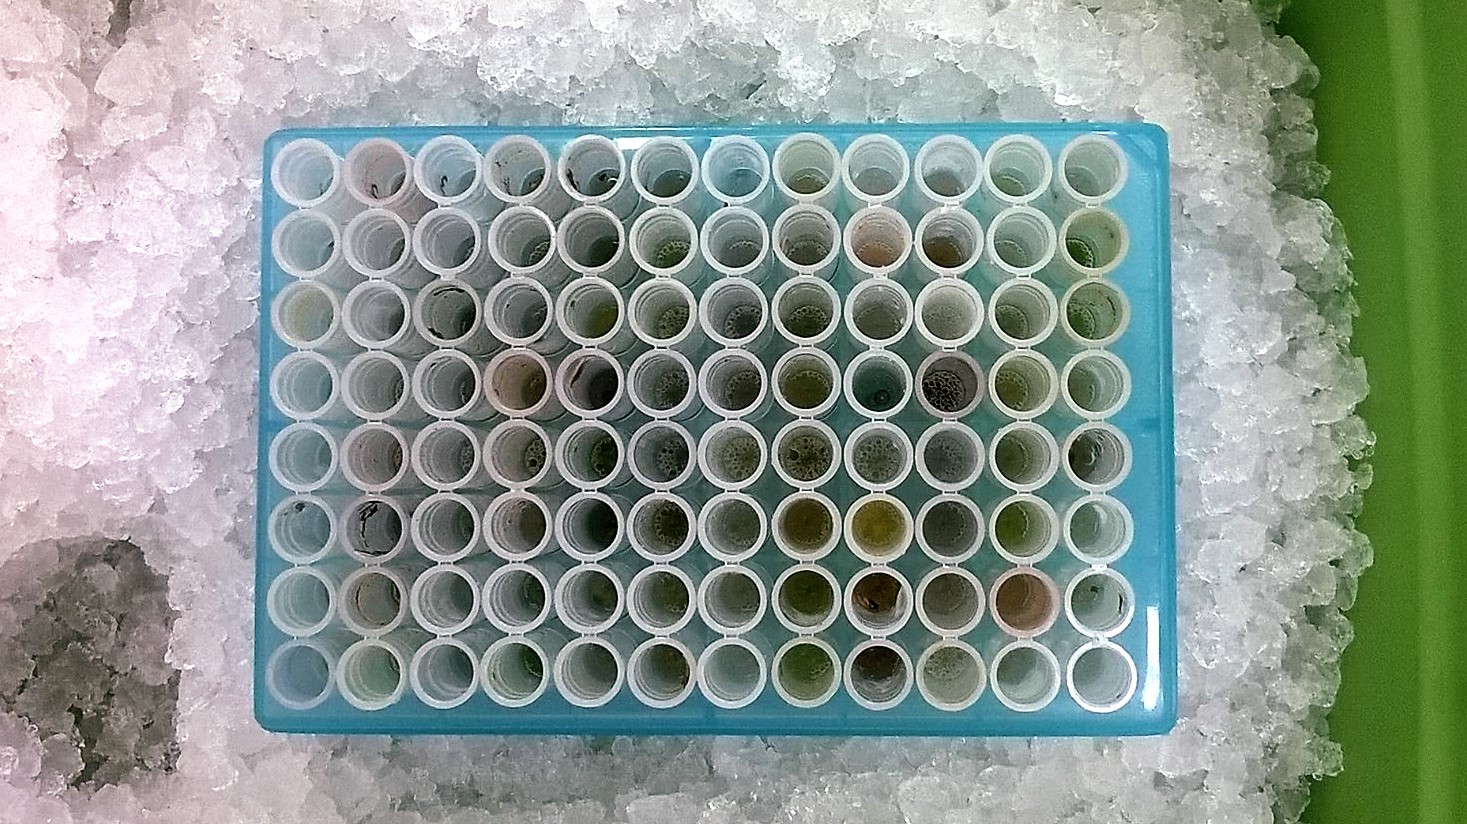
Plant DNeasy kit: after lysis and cold precipitation, DNA extractions ready for the centrifuge

QIAamp kit: Transferring the centrifuged DNA extractions from tubes to the block.
Plant DNeasy kit: DNA extractions transferred to S-block
For both the Plant DNeasy and the QIAamp kits, all the debris (mostly bits of unground tissue, bits of cell walls, and the tungsten balls that were used to grind the tissue) was pelleted at the bottom of the tubes in a centrifuge, and the liquid that was left was pipetted into a new plastic block called an S-block, ready to be placed in the centre of the QIAcube® robot.
QIAamp kit: 96 DNA extractions in an S-block, ready to be put onto the QIAcube robot
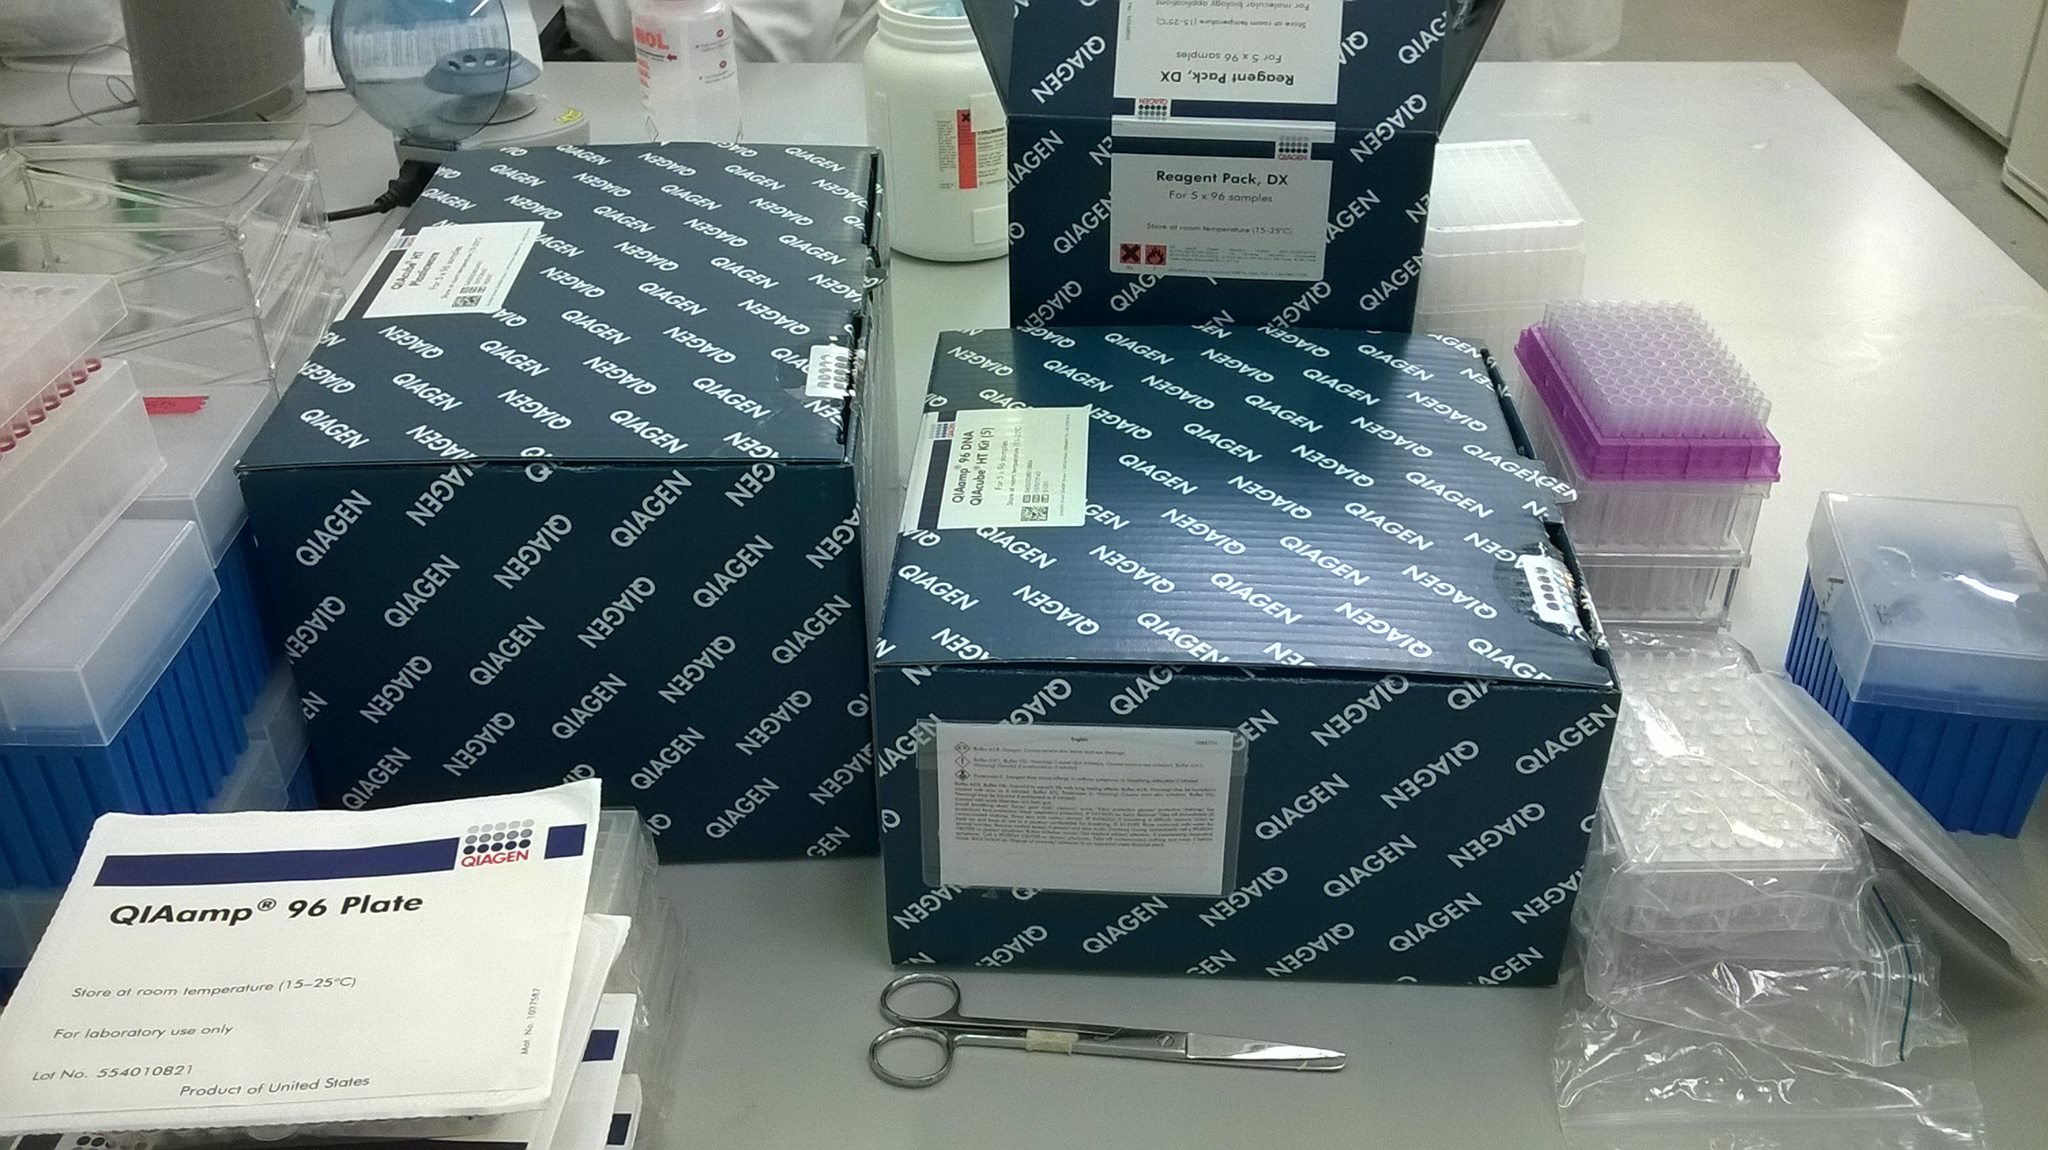
Boxes of DNA extraction plastics and buffers
From there on, all the liquid transfer is done by the pipette arm of the QIAcube, following programmed instructions, and using the consumables that come with the relevant DNA extraction kits.
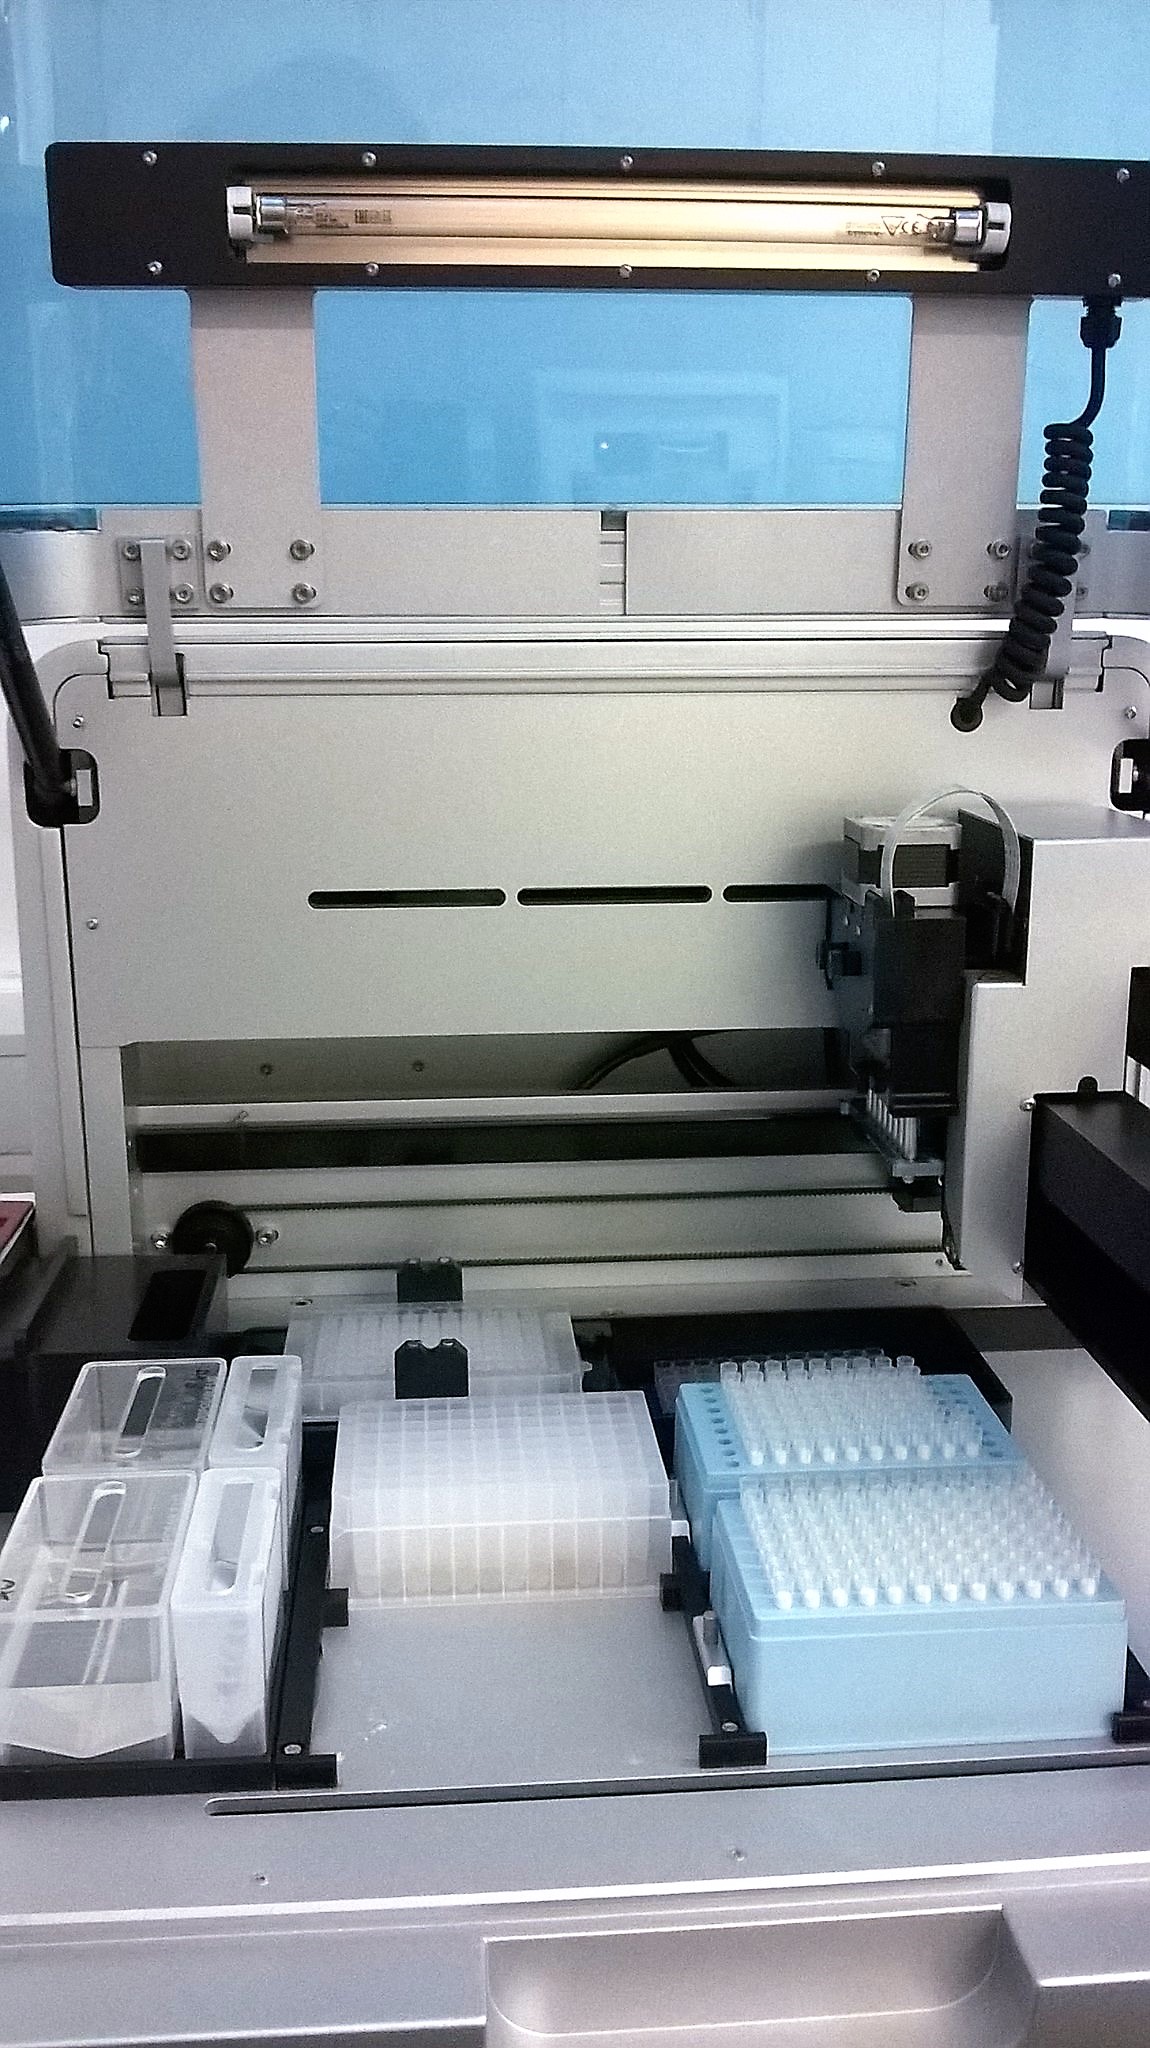
QIAcube ready to run Plant DNeasy kit protocol
Although some of the buffers used are different in each kit, the basic steps are the same: a buffer is added to the DNA extractions in the S-block that will cause the DNA to bind to a silica membrane, and all the fluid is mixed and transferred over to a 96-well capture plate (at the back left of the robot), where a vacuum sucks it through the membrane.
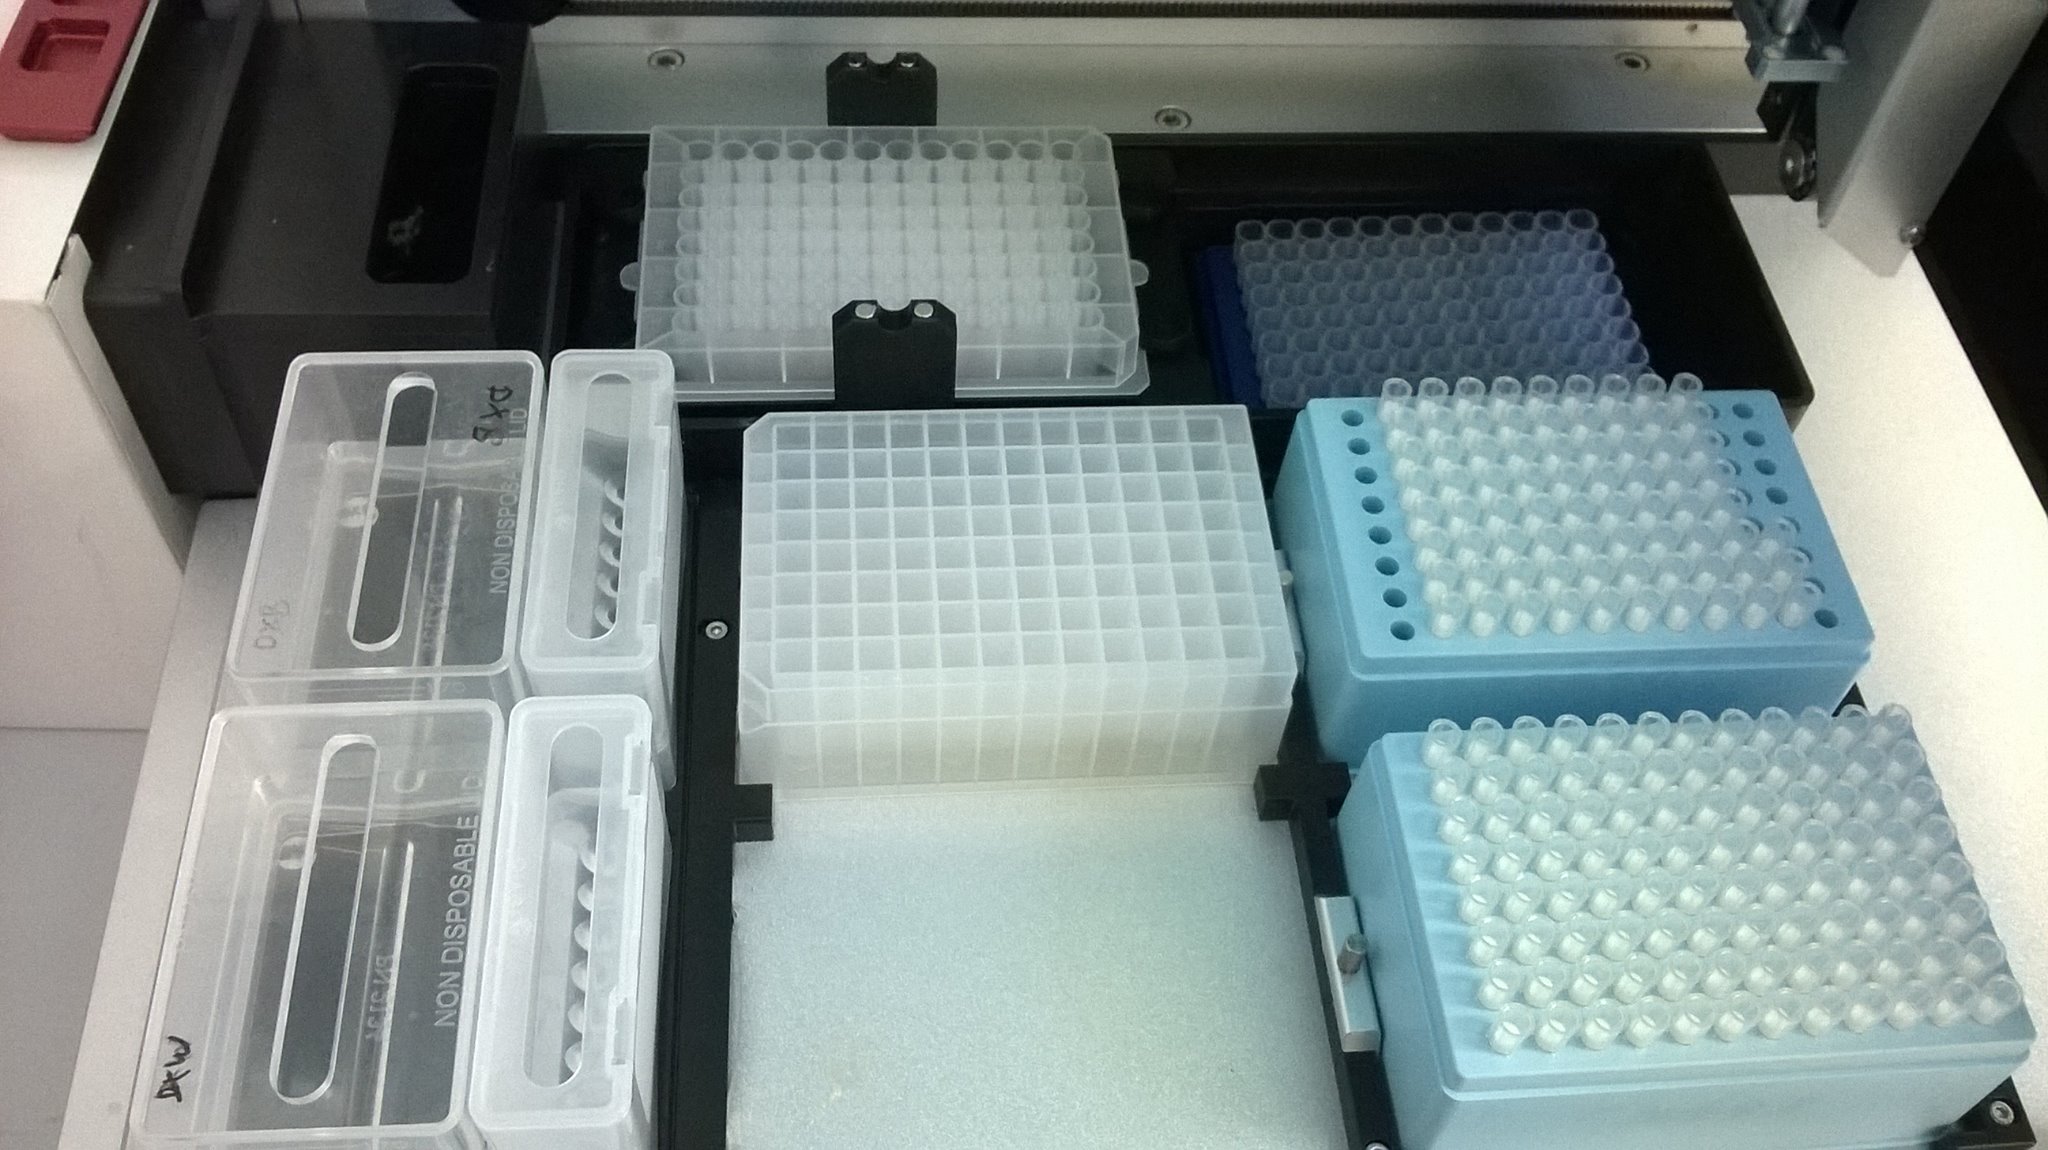
Set-up of Plant DNeasy plastics and buffers inside the QIAcube
This is followed by several wash steps, where alcohol-rich buffers are sucked through the membrane, washing away impurities while the DNA remains precipitated on the membrane. The alcohol is dried off with another vacuum step, and then the capture plate is picked up and moved over to a position directly above some empty tubes in what is known as an elution plate (at the back right of the robot). An elution buffer (the same buffer, AE, is used in both kits) is added to remove the DNA from the silica membrane, and finally the liquid containing the DNA is vacuumed off the membrane and into the empty tubes.
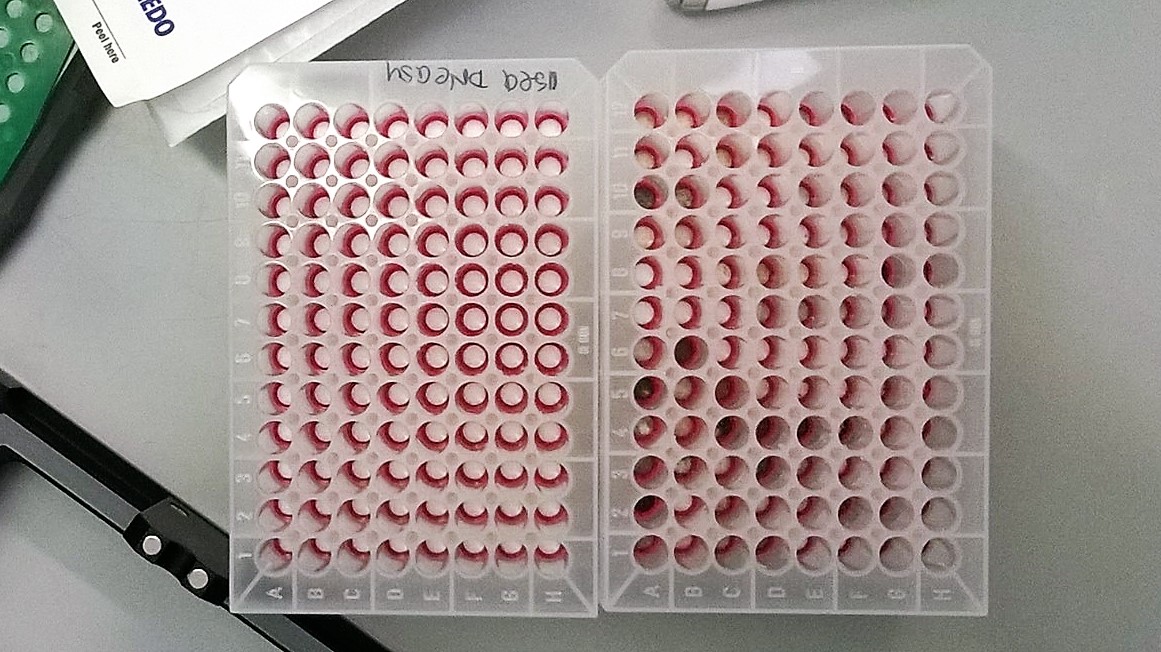
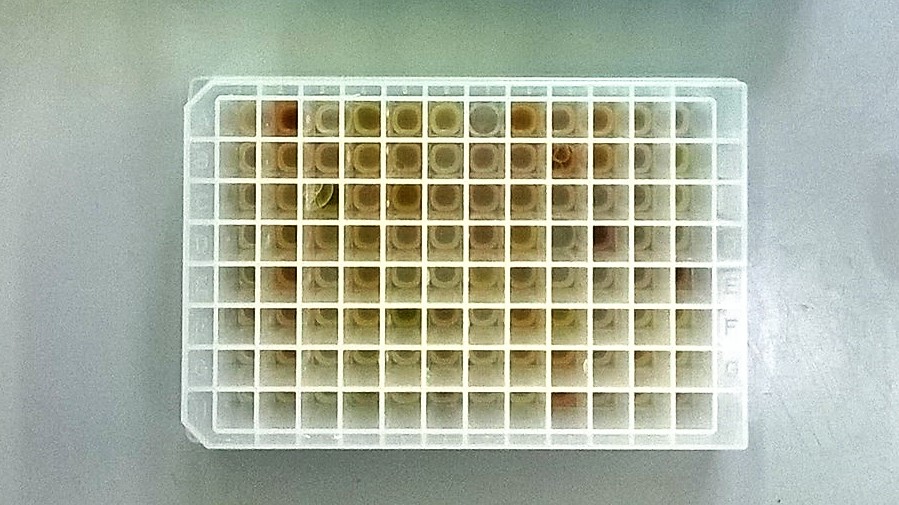
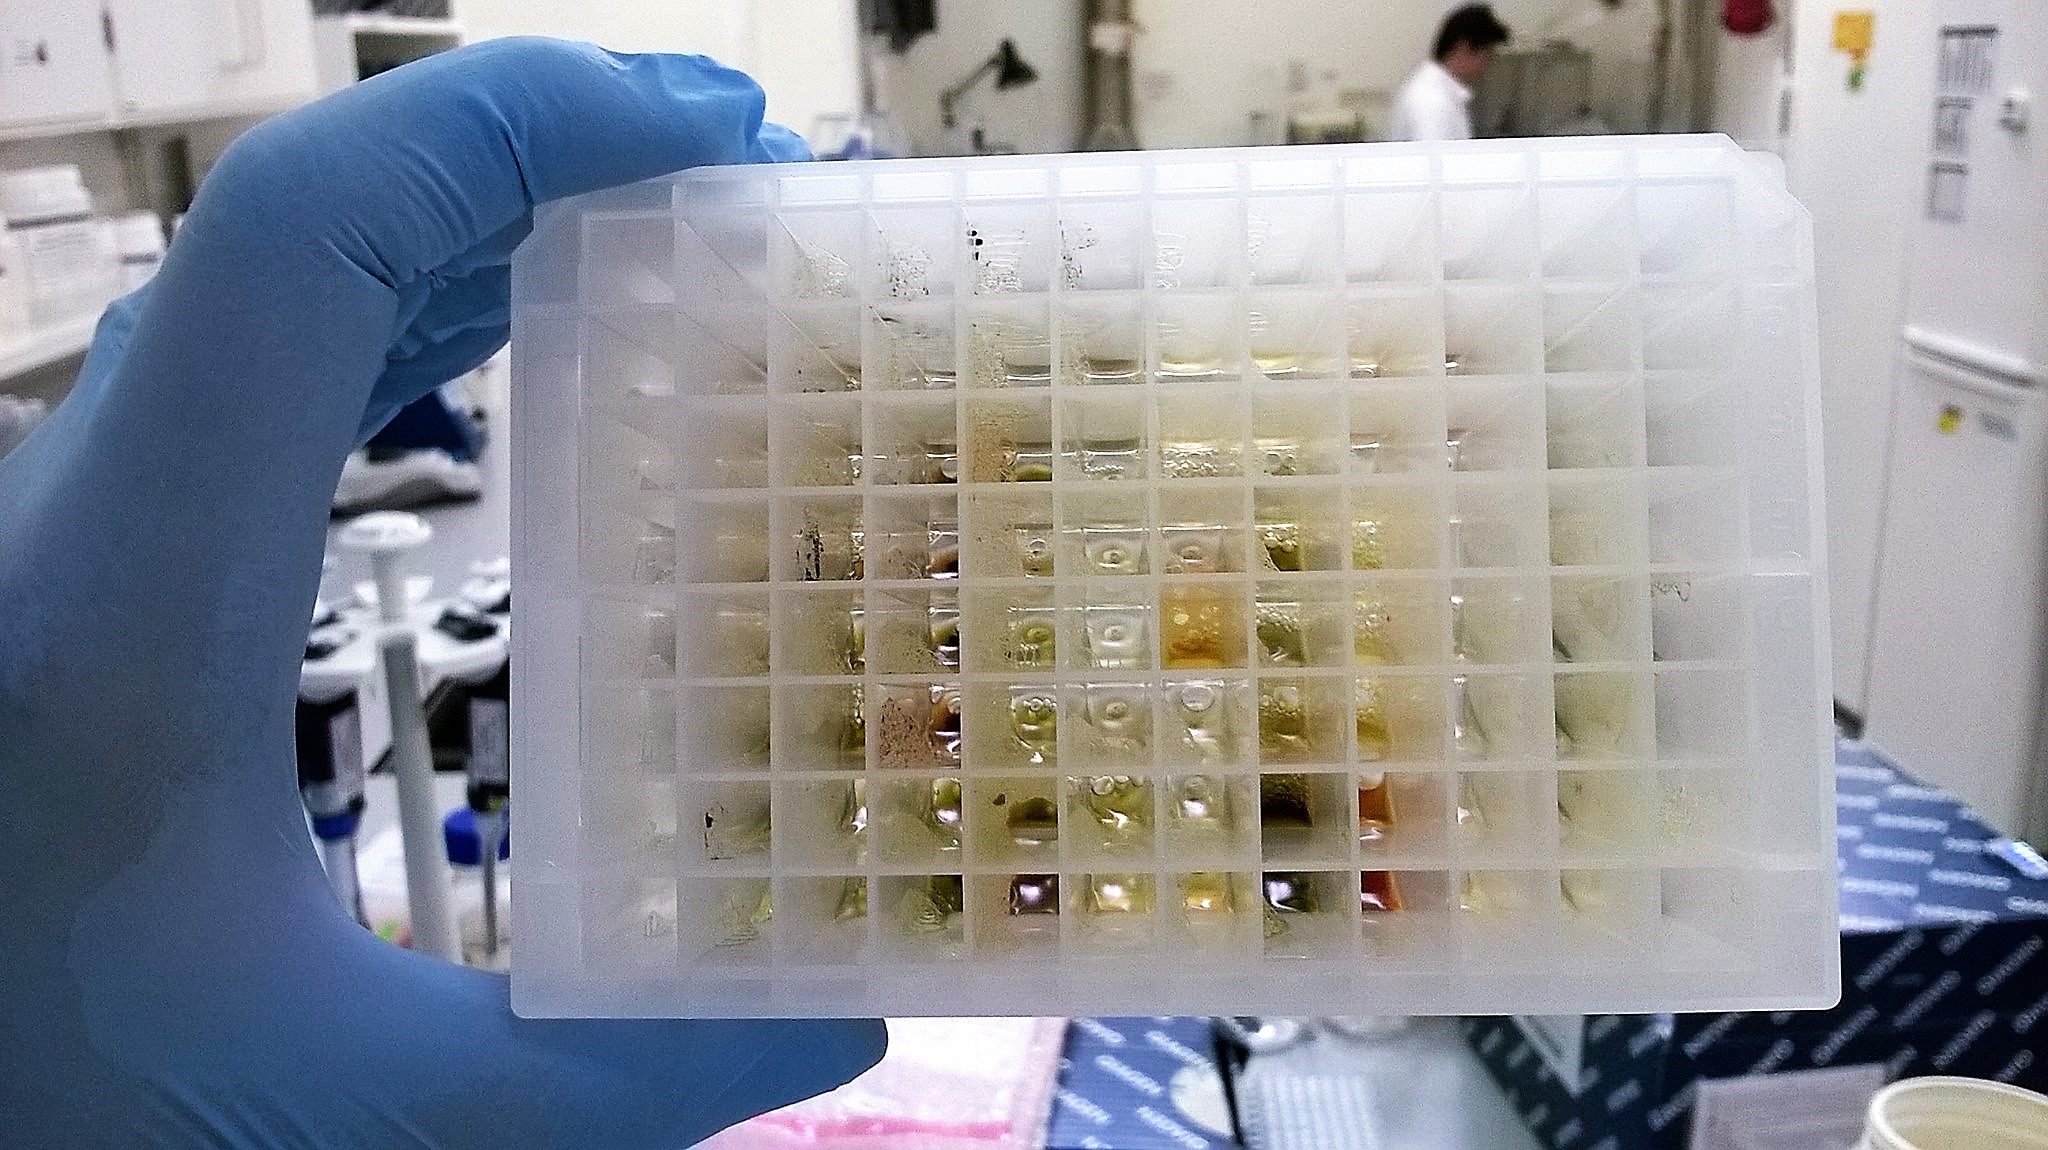
The used capture plates from the DNeasy Plant (left) and QIAamp (right) extraction kits
The next step, in line with our EU-funded SYNTHESYS project objectives, is going to be to look at the quantities and quality of DNA that has been extracted using these two methods, to see if one is quantifiably better for some of the different types of materials that we work with at RBGE. What’s certainly clear so far is that there were more darkly-stained membranes in the QIAamp capture plate (as can be seen in the picture above), and that some of the DNA elutions from the QIAamp kit membranes are also rather strongly coloured.
————————————————————————————————
Related Posts
————————————————————————————————